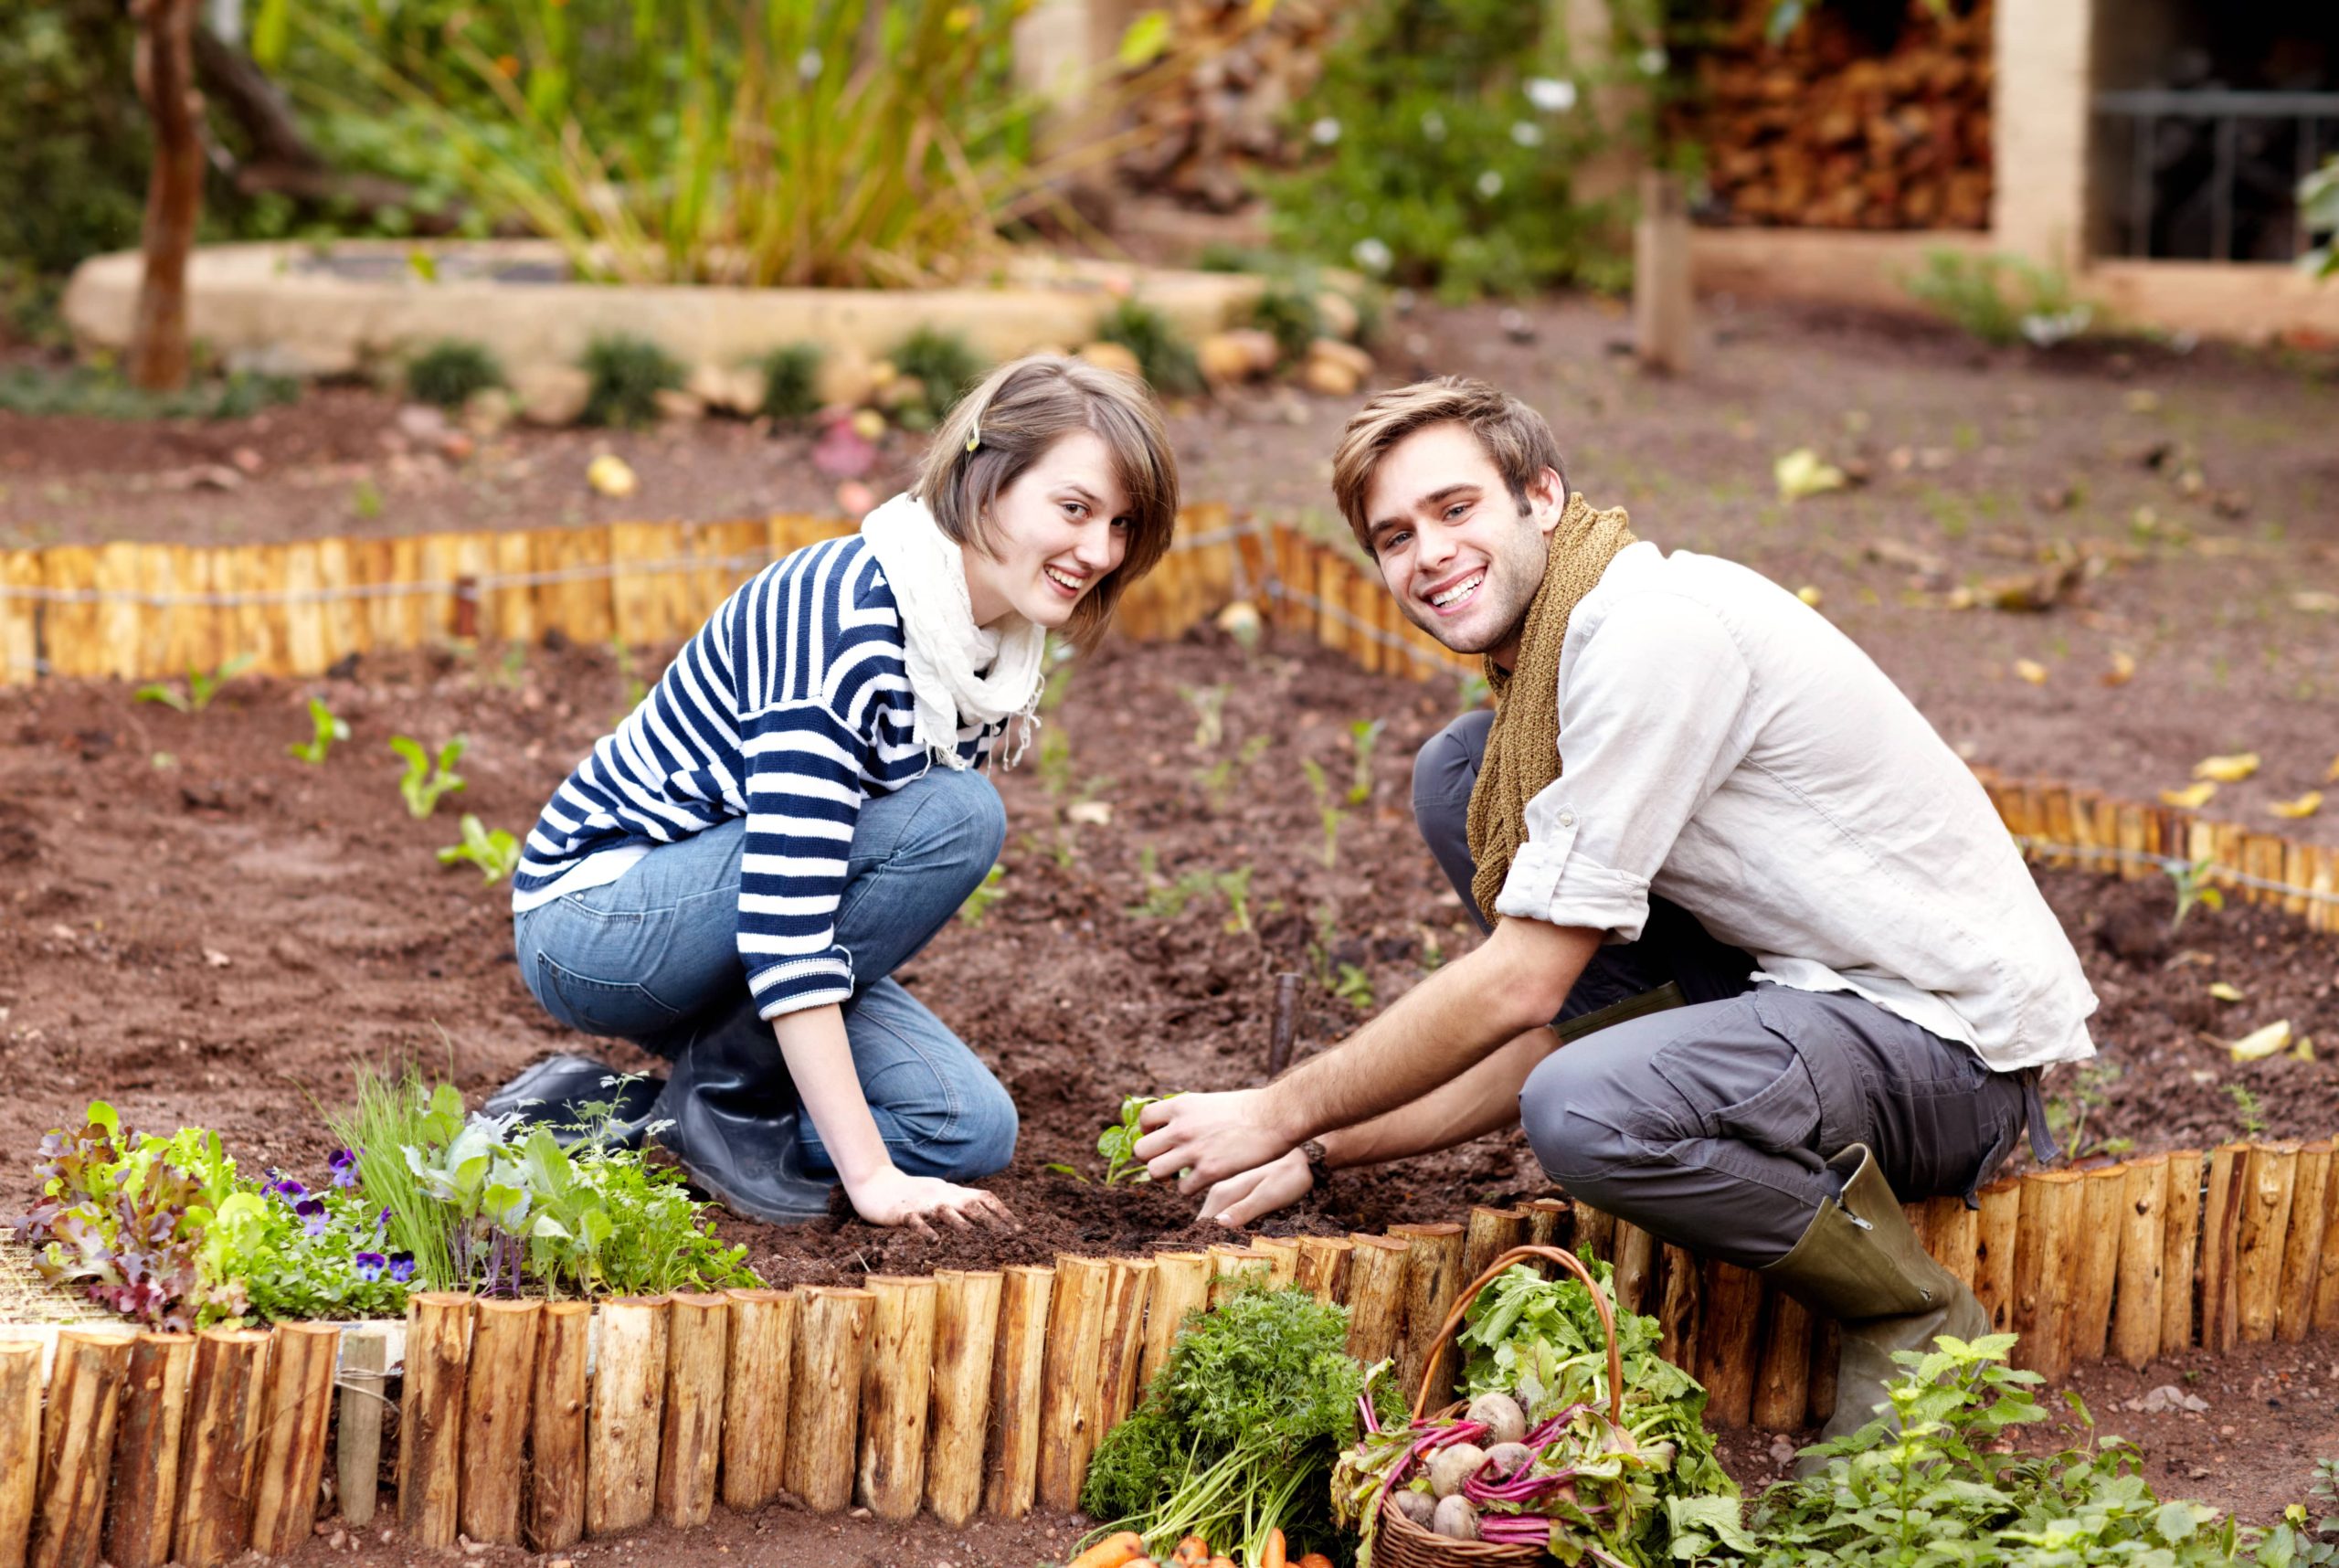
Creating a raised herb garden in your backyard can be a fulfilling and rewarding project for your home. Not only do these gardens add visual appeal, but they also provide you with fresh herbs for cooking, all while promoting a sustainable lifestyle. Plus, a raised herb garden is easier on your back, as you’ll spend less time bending over while tending to your plants. Whether you have a small backyard or a sprawling garden, building a raised herb bed can be a simple weekend project. Here’s your step-by-step guide to creating a thriving raised herb garden.
Why Choose a Raised Herb Garden?
Before diving into the project, let’s discuss why a raised herb garden is beneficial. Not only do they improve drainage, which is crucial to healthy plant roots, but raised beds also warm up faster in the spring. This allows for earlier planting and a longer growing season. Additionally, raised beds can deter some pests and weeds, and they provide a barrier against soil compaction.
Materials Needed
To start your project, gather the following materials:
1. Wood Boards – Choose rot-resistant wood like cedar or redwood. You’ll need four boards, cut to your desired size. A common dimension for raised beds is 4 feet by 4 feet, which allows you to reach the center from all sides.
2. Wood Screws – Galvanized screws will resist rust over time.
3. A Drill or Screwdriver – For assembling the wood boards.
4. Landscaping Fabric – To line the bottom and help block out weeds.
5. Soil – A mix of potting soil, compost, and topsoil works best.
6. Herb Seeds or Starter Plants – Choose herbs based on your culinary and medicinal needs.
7. Measuring Tape – To ensure precise dimensions during construction.
8. Level – Ensures your raised box sits evenly on the ground.
Steps to Build Your Raised Herb Garden
Step 1: Choose the Location
Select a spot in your yard that receives at least 6-8 hours of direct sunlight daily, as most herbs thrive in sunny conditions. Ensure the area is relatively level; this will make your construction process easier and prevent drainage issues later on.
Step 2: Construct the Frame
With your pre-cut wood boards, start assembling the frame:
– Arrange two longer boards parallel to each other on the ground, corresponding to the dimensions you prefer.
– Place the shorter boards between the ends of these longer sides, forming a rectangle or square.
– Use the drill and wood screws to secure the corners tightly. Pre-drill holes in the wood to prevent splitting.
A general tip is to ensure that the raised bed is no wider than 4 feet. This width ensures easy access to the center from all sides without stepping on the soil.
Step 3: Pick and Level the Spot
Place your constructed frame on the desired spot in your yard. Use the level to check on all sides, ensuring the frame sits evenly on the surface. You may need to dig or add soil beneath the frame to achieve level placement.
Step 4: Prepare the Base and Install Fabric
Before adding soil, clear the base of any weeds and debris. Lay down landscaping fabric to prevent weeds and burrowing pests. Cut the fabric to fit inside the wooden frame, ensuring it reaches up the sides of the boards.
Step 5: Fill with Soil
Now it’s time to fill your raised bed with soil. A recommended mix includes:
– 50% Potting Soil: Provides a light, airy structure for plant roots.
– 25% Topsoil: Adds minerals and supports heavier plants.
– 25% Compost: Adds essential nutrients and helps retain moisture.
Add your mixture, ensuring you leave about an inch from the top rim of the bed to prevent overflow when watering. Use a rake to even out the surface.
Step 6: Plant Your Herbs
When planting your herbs, consider their mature size and sunlight requirements:
– Basil and Parsley: These herbs prefer full sun.
– Mint: Can tolerate some shade and tends to spread, so contain it in a corner.
– Thyme and Oregano: Thrive in well-draining soil and full sun.
– Cilantro and Dill: Grow well together, with similar care requirements.
Plant seeds or starter plants according to package instructions for depth and spacing. Water the newly planted herbs thoroughly.
Step 7: Maintenance
Regular watering, weeding, and occasional fertilization are essential for healthy herbs. Mulching can also help retain soil moisture and prevent weed growth. As your herbs grow, consider pruning regularly to encourage bushier growth and prolong harvest periods.
Conclusion
Building a raised herb garden is an excellent way to elevate your home gardening experience, literally and figuratively. With these simple, DIY-friendly steps, you can enjoy the fresh flavors and scents of your herbs in your very own backyard. Not only will you reap the benefits of homegrown produce, but you’ll also engage with your garden in a meaningful, satisfying way. So gather your tools and get started on your raised herb garden this weekend—you’ll be thankful for the herbal bounty it provides all season long!


