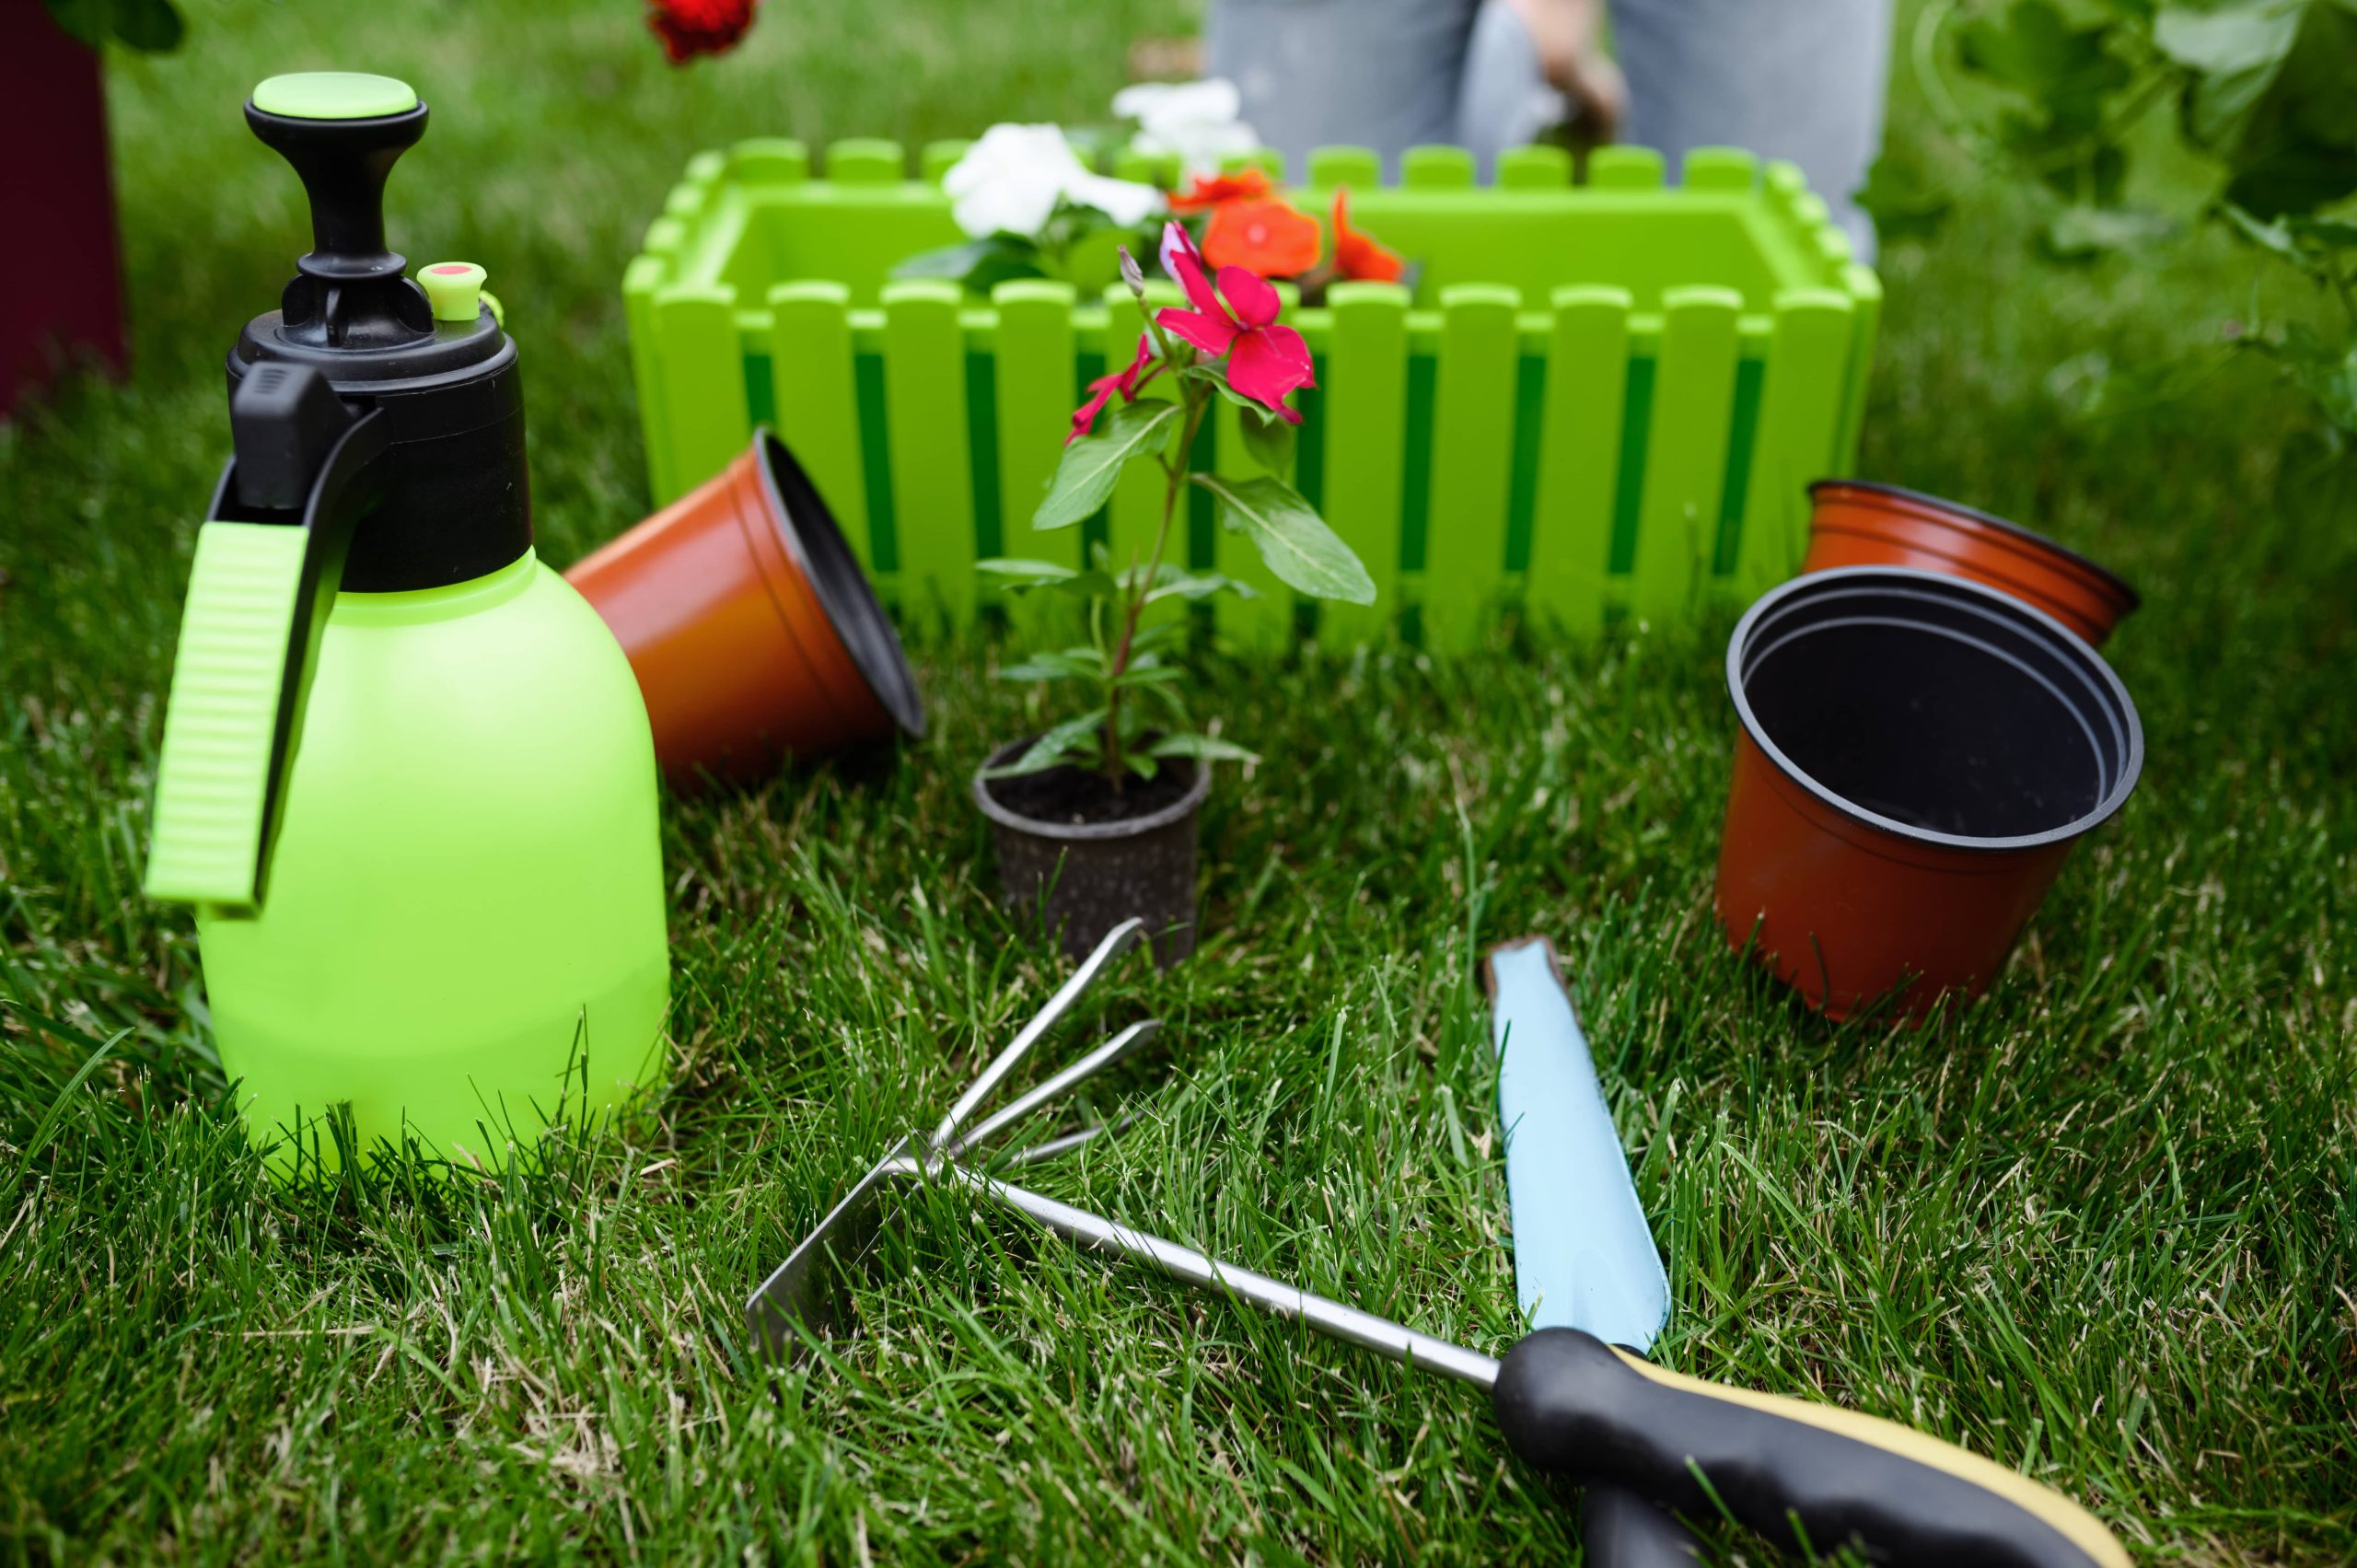
Gardening is a rewarding hobby that combines the beauty of nature with the satisfaction of nurturing life. But there’s no need to limit the creativity to just the plants themselves; the containers can be just as expressive. Creating custom painted garden pots is a wonderful way to add a personal touch to your home garden, making your green space uniquely reflective of your style. Whether you’re looking to add a splash of color, illustrate a pattern, or personalize pots with names or quotes, this project is perfect for you. Let’s dig into the world of custom painted garden pots.
Materials You’ll Need
Before getting started, gather the following materials:
– Terra cotta or ceramic pots
– Acrylic paint or outdoor/indoor spray paint
– Sealant or clear acrylic spray to protect the paint
– Sandpaper
– Paintbrushes of various sizes
– Painter’s tape or stencils (optional)
– Old newspapers or a tarp to protect your work surface
– Water and a clean rag for cleaning up spills
Step 1: Choose and Prepare Your Pots
Start by selecting the pots you wish to paint. Terra cotta pots are popular because they are porous, which allows for good airflow for plant roots. However, ceramic and resin pots are also excellent choices. Consider the size of your design and the plants you want to use to help dictate the size of your pots.
Once you have your pots, it’s important to prep them properly. Use sandpaper to gently smooth any rough spots or edges, as this will help the paint adhere better. Wash the pots in warm soapy water to remove dust or residues and let them dry thoroughly.
Step 2: Design Planning
Before you dip your brush in paint, think about the design you want to create. Are you going for a minimalist look, floral designs, geometric shapes, or something more intricate like a mosaic pattern? Sketch your ideas on paper first to visualize them. This step is crucial, as it will save you from mid-project redesigns and unnecessary mistakes.
Step 3: Prime and Base Coat
Applying a base coat can help the colors of your design stand out and ensure your artwork lasts. Using outdoor or indoor spray paint is a quick way to apply a base coat evenly. However, if you enjoy hand-painting, an acrylic base can work just as well. Choose a color that complements your design. A white base, for instance, can make vibrant colors pop, while a dark base provides striking contrasts for lighter hues. Allow the base coat to dry completely before moving to the next step.
Step 4: Painting Your Design
Now comes the fun part—applying your design! This is where you can let your creativity shine. Use painter’s tape to mask off areas for crisp, clean lines, or use stencils for repetitive patterns. For freehand designs, start with larger shapes and work your way to finer details, using smaller brushes as needed. Don’t worry about being perfect—handmade items have a charm that lies in their imperfections.
If you’re painting multiple pots, consider using a theme that ties them all together, whether it’s a set of colors, a repeated motif, or a style like bohemian or modern.
Step 5: Seal the Paint
Once your designs are complete and the paint is fully dry, it’s time to seal the pots to protect your artwork from the elements. A clear acrylic spray or a brush-on sealant will do the job, safeguarding the paint against water, sun, and wear. Sealing is especially important for outdoor pots exposed to harsher conditions.
Step 6: Plant Your Greenery
After the sealant is dry, it’s time to bring your pots to life with plants. Select plants that fit the size and placement of your pots. For example, succulents and cacti make excellent choices for smaller pots, while larger pots can accommodate flowers, herbs, or small shrubs. Arrange your pots in a way that complements their designs—consider heights, colors, and textures to create an eye-catching display.
Step 7: Display and Enjoy
Find the perfect spot in your garden, patio, or windowsill to showcase your custom painted garden pots. Not only are these dotted treasures beautiful to look at, but they also bring a sense of satisfaction knowing you’ve created something truly unique. Plus, they make fantastic conversation starters!
Additional Tips
– If you’re working with kids, encourage them to paint their own designs for a fun family activity. Just be sure to use non-toxic paints.
– For a personal touch, add the names of the plants to the pots as functional art; this helps in both identification and adds character.
– Keep experimenting with different techniques, like sponge painting for textured effects or layering colors for depth.
Creating custom painted garden pots is an enjoyable way to personalize your gardening experience and infuse your outdoor space with color and creativity. Whether you’re an experienced artist or a beginner, this project allows you to express your creativity and make something beautiful, practical, and uniquely yours. Happy painting!


