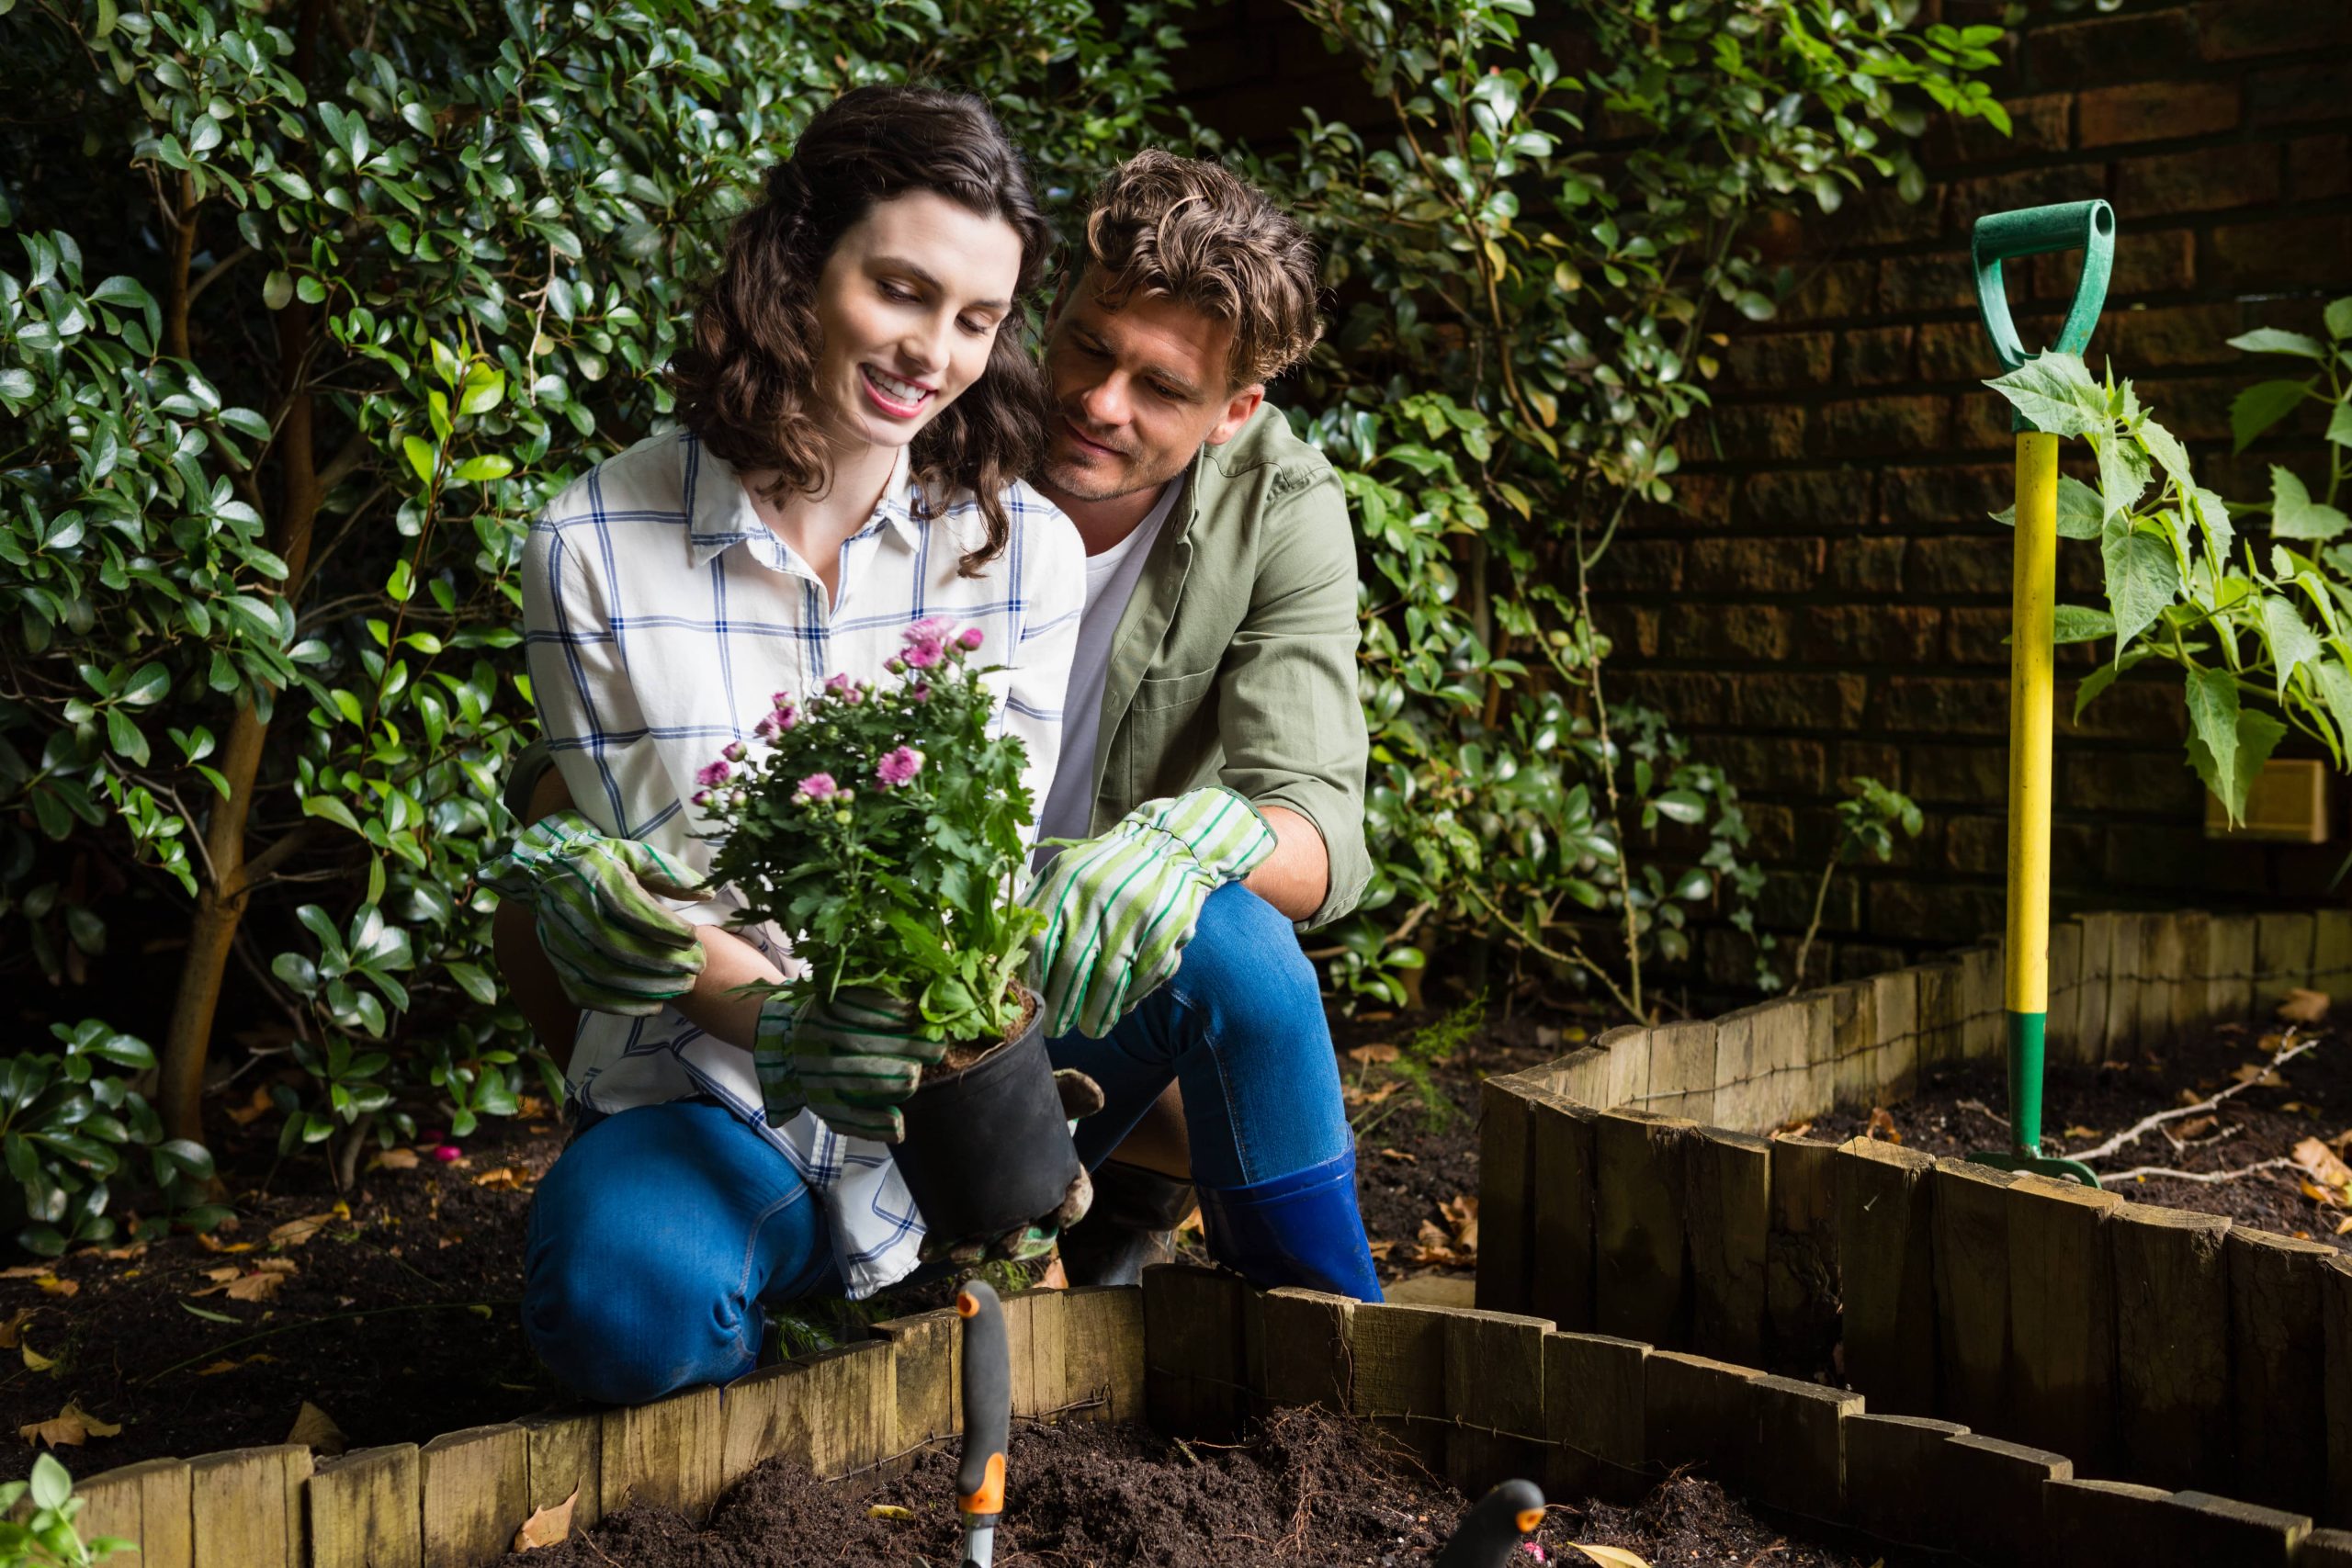
As gardening enthusiasts and home improvement aficionados, we often seek creative ways to elevate our outdoor spaces and ensure our plants grow healthily. One such project that beautifully marries aesthetics with functionality is building a DIY garden trellis. This project is especially beneficial for climbing plants like roses, peas, cucumbers, and beans, which require structures to support their growth. Let’s delve into how a garden trellis not only enhances your garden’s beauty but also serves as a vital support system for your climbing plants.
Why Your Garden Needs a Trellis
Climbing plants have a natural tendency to ascend any surface they encounter, and a trellis is an engineered solution that supports this instinct. By providing the necessary structure, a trellis allows these plants to grow vertically instead of sprawling on the ground. This vertical growth not only saves space but also improves air circulation around the plants, reducing the risk of fungal diseases. Moreover, a trellis can transform a mundane garden wall or fence into a living tapestry bursting with color and life.
In addition to supporting plant health, a well-designed trellis can serve as a striking focal point in your garden. It can be a stand-alone piece or connected to existing structures, adding vertical interest and drawing the eye upward. Whether you prefer a rustic wooden trellis, a sleek metal design, or a charming lattice pattern, there’s a style to complement every garden aesthetic.
Materials You’ll Need
Building your own garden trellis is a rewarding DIY project that doesn’t require expensive materials or advanced skills. Here’s a list of basic materials you’ll need:
– Wood: Cedar and redwood are excellent choices due to their natural resistance to rot. However, pressure-treated wood is also a viable option.
– Screws or Nails: Galvanized screws or nails will prevent rusting and ensure your trellis withstands the elements.
– Saw: A handsaw or circular saw will work, depending on what you have at home.
– Drill: For pre-drilling holes and securing screws or nails.
– Measuring Tape and Pencil: To ensure precise cuts and assembly.
– Sandpaper: To smooth out any rough edges.
– Wood Stain or Paint (Optional): To give your trellis a finished look and added protection.
Step-by-Step Guide to Building Your Trellis
1. Design Your Trellis
Start by determining the dimensions and design of your trellis based on the plants it will support and the space it will occupy. For a simple design, consider a rectangular frame with horizontal and vertical slats. More intricate designs may include crisscrossing lattice patterns.
2. Cut the Wood
Use your measuring tape and pencil to mark the wood according to your design. Carefully cut the wood using the saw, ensuring each piece is the correct length.
3. Assemble the Frame
Lay out your cut pieces on a flat surface, arranging them according to your plan. Pre-drill holes to prevent the wood from splitting, then connect the pieces using screws or nails to form the frame.
4. Add Slats or Lattice
Attach horizontal and vertical slats inside the frame, spacing them evenly apart. For lattice designs, angle the slats to create diamond shapes. Secure each slat with screws or nails.
5. Smooth and Finish
Use sandpaper to smooth any rough spots and wipe away dust. If desired, apply a coat of wood stain or paint for aesthetic appeal and added protection against the elements.
6. Install the Trellis
Position your trellis in its intended location. It can be anchored in the ground by attaching stakes to the bottom or fixed to an upright structure like a wall or fence.
Benefits of a DIY Trellis
Aside from providing essential support for climbing plants, constructing your own trellis offers multiple benefits. Not only does it allow you to customize the design to perfectly suit your garden, but it’s also a cost-effective alternative to purchasing pre-made trellises. Furthermore, engaging in a hands-on project can be incredibly fulfilling, bringing a sense of accomplishment and personalization to your garden.
Trellises are versatile structures that can be repurposed with changing seasons. As one set of climbing plants begins to wane, consider rotating new varieties to freshen your garden’s appearance. You can even use them to grow seasonal decorative plants, like morning glories or sweet peas, to introduce differing color schemes throughout the year.
Conclusion
A DIY garden trellis is more than a support structure for climbing plants; it’s an opportunity to blend creative design with practical function. By building your own, you can ensure that your plants receive the care they need while also crafting a unique statement piece for your garden. Whether you’re a seasoned gardener or a DIY novice, constructing a trellis brings a rewarding challenge that complements the joy of nurturing a thriving garden. So grab your tools, unleash your creativity, and watch your climbing plants flourish in style!


