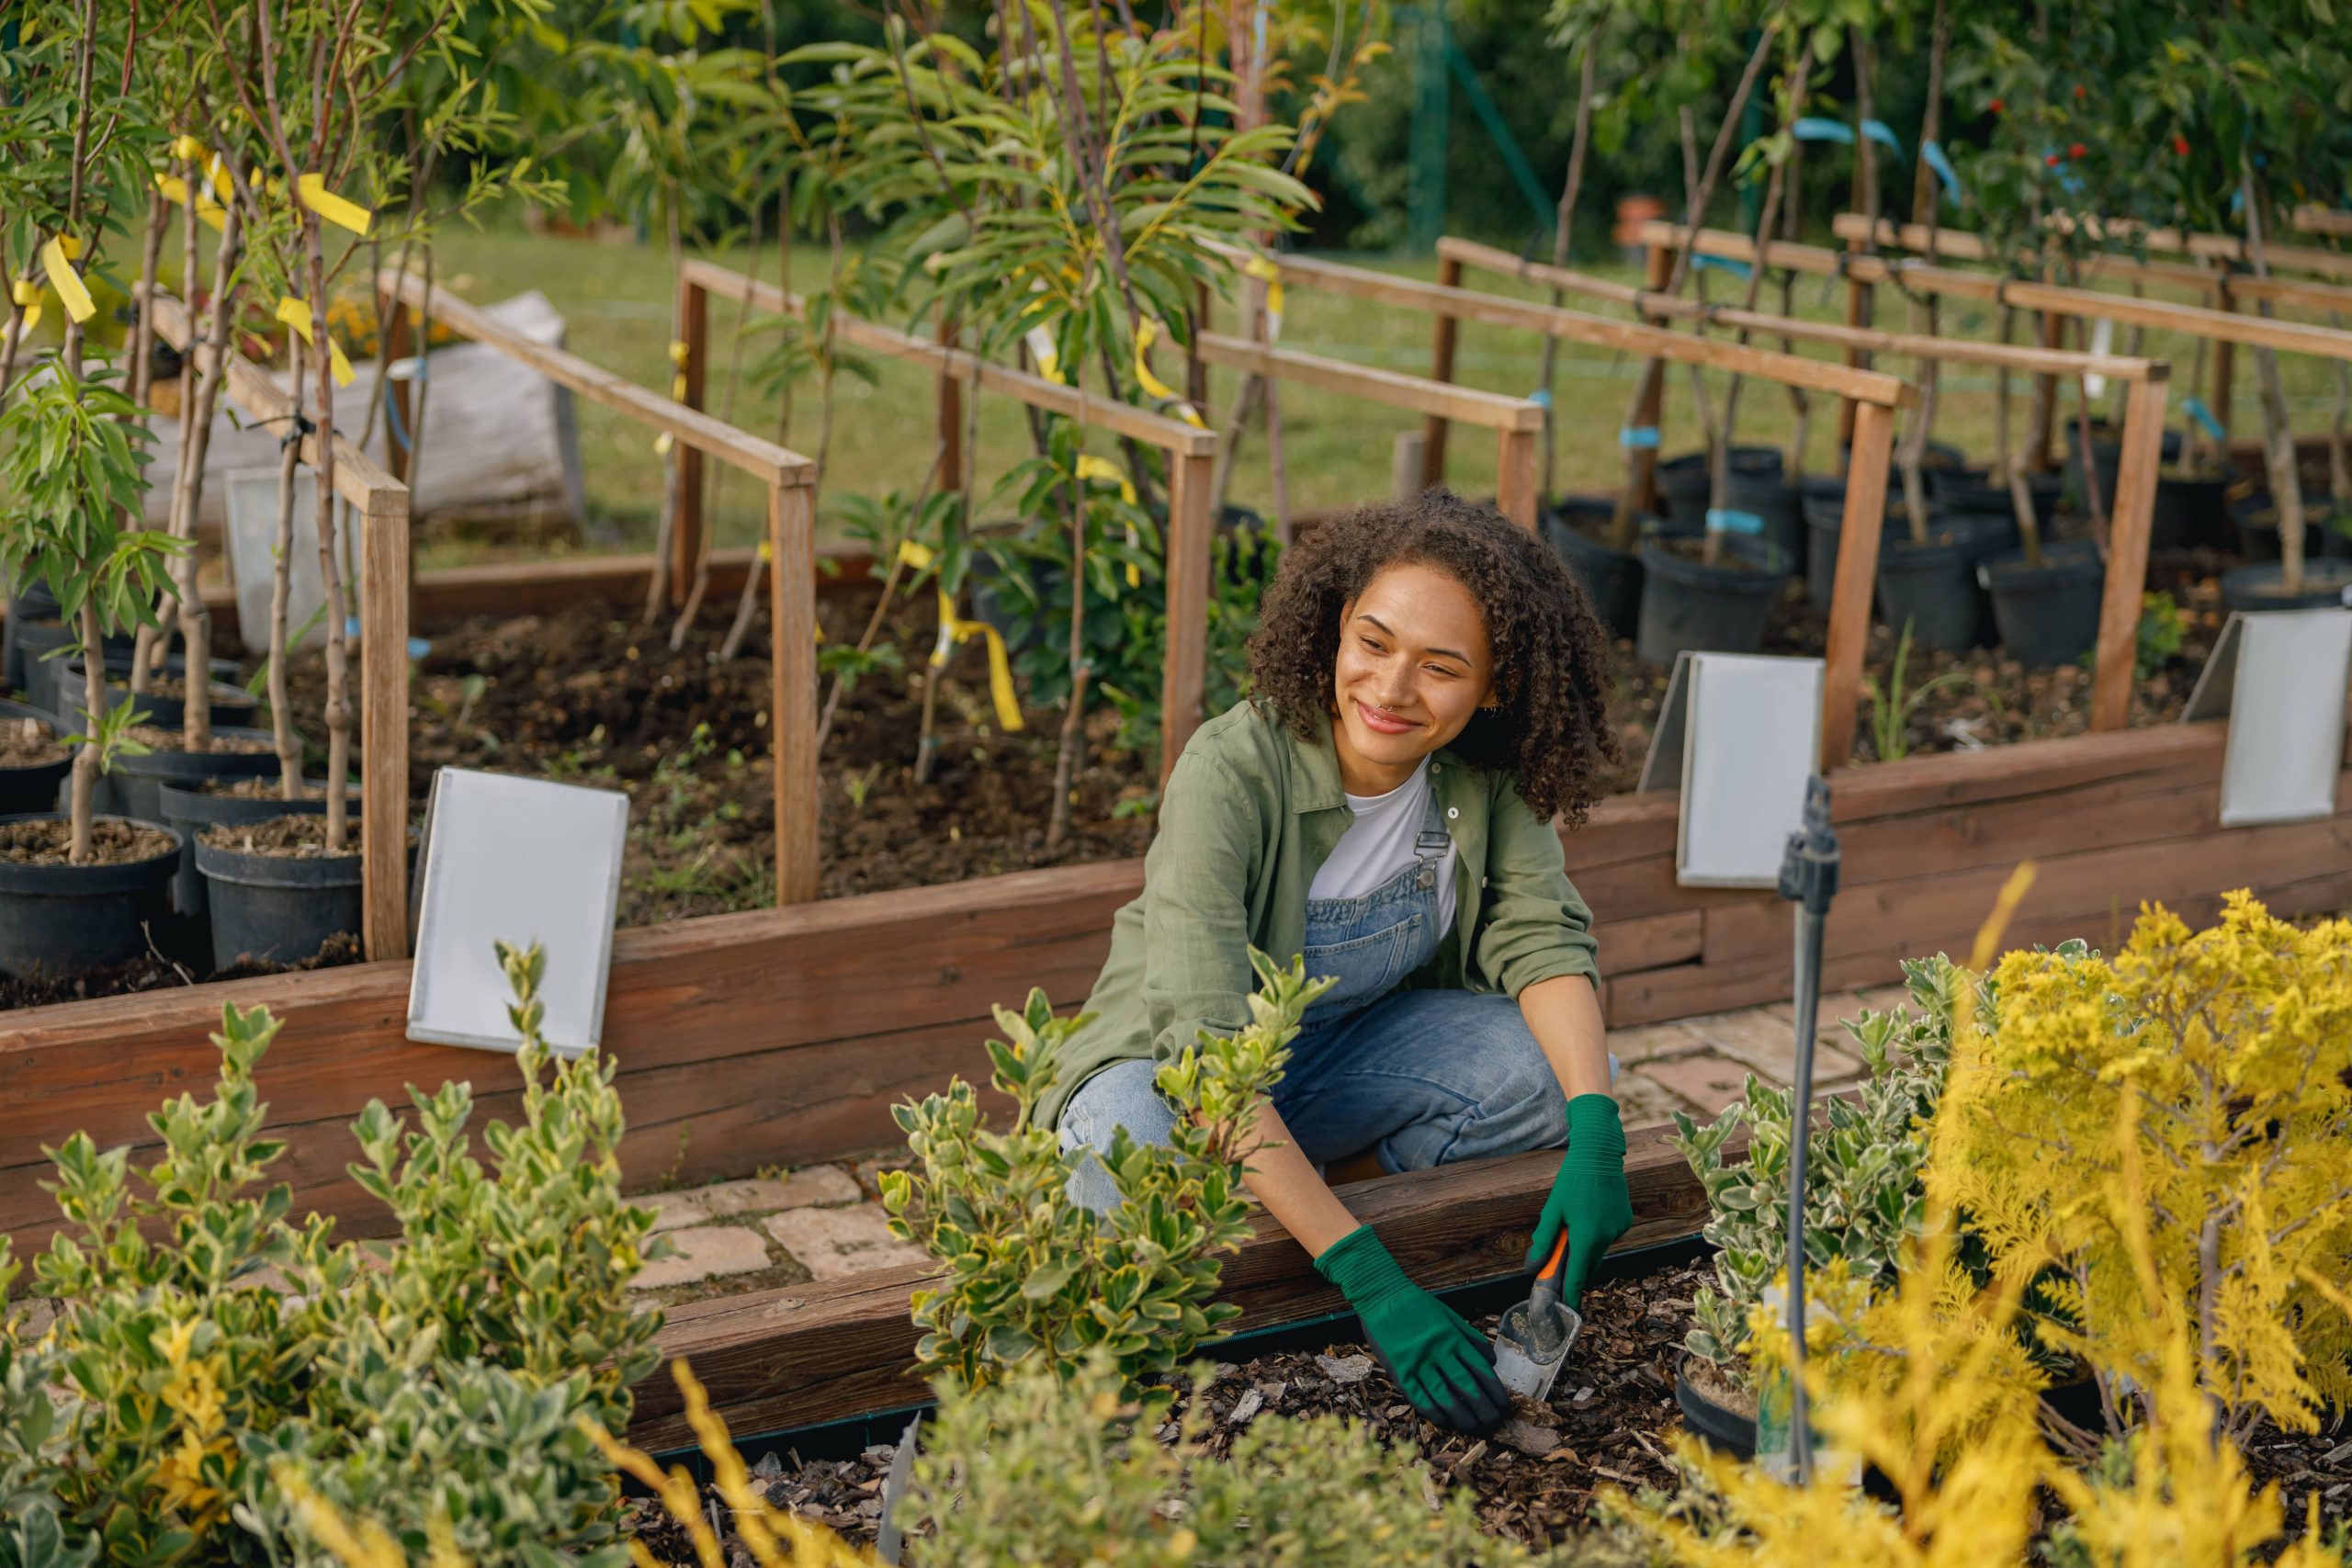
Gardening can be a peaceful and rewarding hobby, providing beauty and relaxation while connecting us to nature. However, anyone who has spent time tending plants knows that a cluttered workspace can turn a soothing activity into a stressful one. Here’s where a dedicated potting station can revolutionize your gardening routine. A well-organized, DIY potting station not only enhances the gardening experience but also helps keep your tools, soil, and pots neat and accessible. Let’s dive into how you can create a DIY potting station that’s both functional and beautiful.
Why You Need a Potting Station
Before getting into the how, let’s talk about the why. Having a dedicated space for potting plants offers several benefits:
– Organization: Keeps all your gardening tools and supplies in one place, allowing for easy accessibility.
– Efficiency: Streamlines the gardening process, reducing time spent searching for tools.
– Cleanliness: Contains soil mess and plant debris, minimizing cleanup.
– Convenience: Provides a comfortable work height, reducing strain on your back and knees.
– Aesthetic Appeal: A well-designed potting bench can enhance the overall look of your garden or yard.
Designing Your Potting Station
Before gathering your materials, let’s plan out your perfect potting bench. Consider these design elements:
1. Location:
Choose a spot with adequate space, preferably near your garden or greenhouse. Ensure it’s a location that gets some shade, as direct sunlight can make it uncomfortable to work and can also dry out potting soils.
2. Size:
The size of your station will depend on the available space and your gardening needs. A standard potting station height is between 36 to 39 inches, which is comfortable for most people. Ensure the depth and width offer ample space for work and storage.
3. Features:
Plan for shelves, hooks, potting bins, and drawers. You might also consider a sink with access to water for easy cleaning and watering, or a fold-out table for additional workspace.
Gathering Your Materials
For a basic, functional potting station, you’ll need:
– Treated wood or pallets
– Screws and L-brackets
– Drill and screwdriver
– Saw (electric or hand)
– Measuring tape
– Sandpaper
– Paint or wood stain (optional)
For additional features, consider:
– Galvanized metal sheet for the tabletop
– A utility sink with a hose connection
– Hooks for tools
– Bins or baskets for storage
– An old cabinet or dresser for repurposing
Building Steps
Step 1: Construct the Frame
Begin by constructing a simple rectangular frame for your potting bench. Measure and cut four wood pieces for the legs at the desired height. Attach the legs to two longer pieces that will become the top and bottom edges of your bench.
Step 2: Add the Shelves
Add a lower shelf for storing pots and soils. Cut and attach sturdy planks between the legs. If using old furniture, ensure the drawers are secure for additional storage.
Step 3: Attach the Tabletop
The top of your potting bench is crucial, as it serves as your primary workspace. Use a piece of plywood or repurposed wood. Consider a galvanized metal sheet to cover the top for easier cleaning and durability.
Step 4: Install Additional Features
If you’ve chosen to include a sink, cut out a space in your tabletop and fit the sink. Connect it to a garden hose for water supply. Secure hooks along the edges or attach a pegboard to hang tools. Use baskets or bins to hold smaller supplies like potting mix, gloves, and seeds.
Step 5: Sand and Finish
Once assembled, thoroughly sand your bench to remove splinters. Apply a weather-resistant stain or paint to protect the wood and enhance its appearance. Opting for a cheerful color can also add personality to your garden space.
Tips for Use
– Organize Regularly: Keep tools and supplies in their designated spots to maintain efficiency.
– Clean Routinely: Wipe down the tabletop and rinse out the sink (if installed) after each use to prevent rust and decay.
– Stock Smartly: Regularly check your stock of potting soil, fertilizer, and other essentials to avoid disruption during gardening.
Personal Touches
Adding personal touches to your potting station can make your gardening experience even more enjoyable:
– Decorate with Plants: Incorporate potted plants or hanging baskets to enhance the aesthetics.
– Add Lighting: String lights or a solar-powered lamp can brighten the area for early morning or late evening tasks.
– Customize Storage: Label bins and containers for easy identification.
Conclusion
A DIY potting station is a practical addition to any garden, providing an organized, efficient, and enjoyable area for all your planting activities. With a little planning, some basic materials, and your own personal flair, you can create a gardening workspace that not only meets your needs but elevates your entire gardening experience. Happy gardening!


