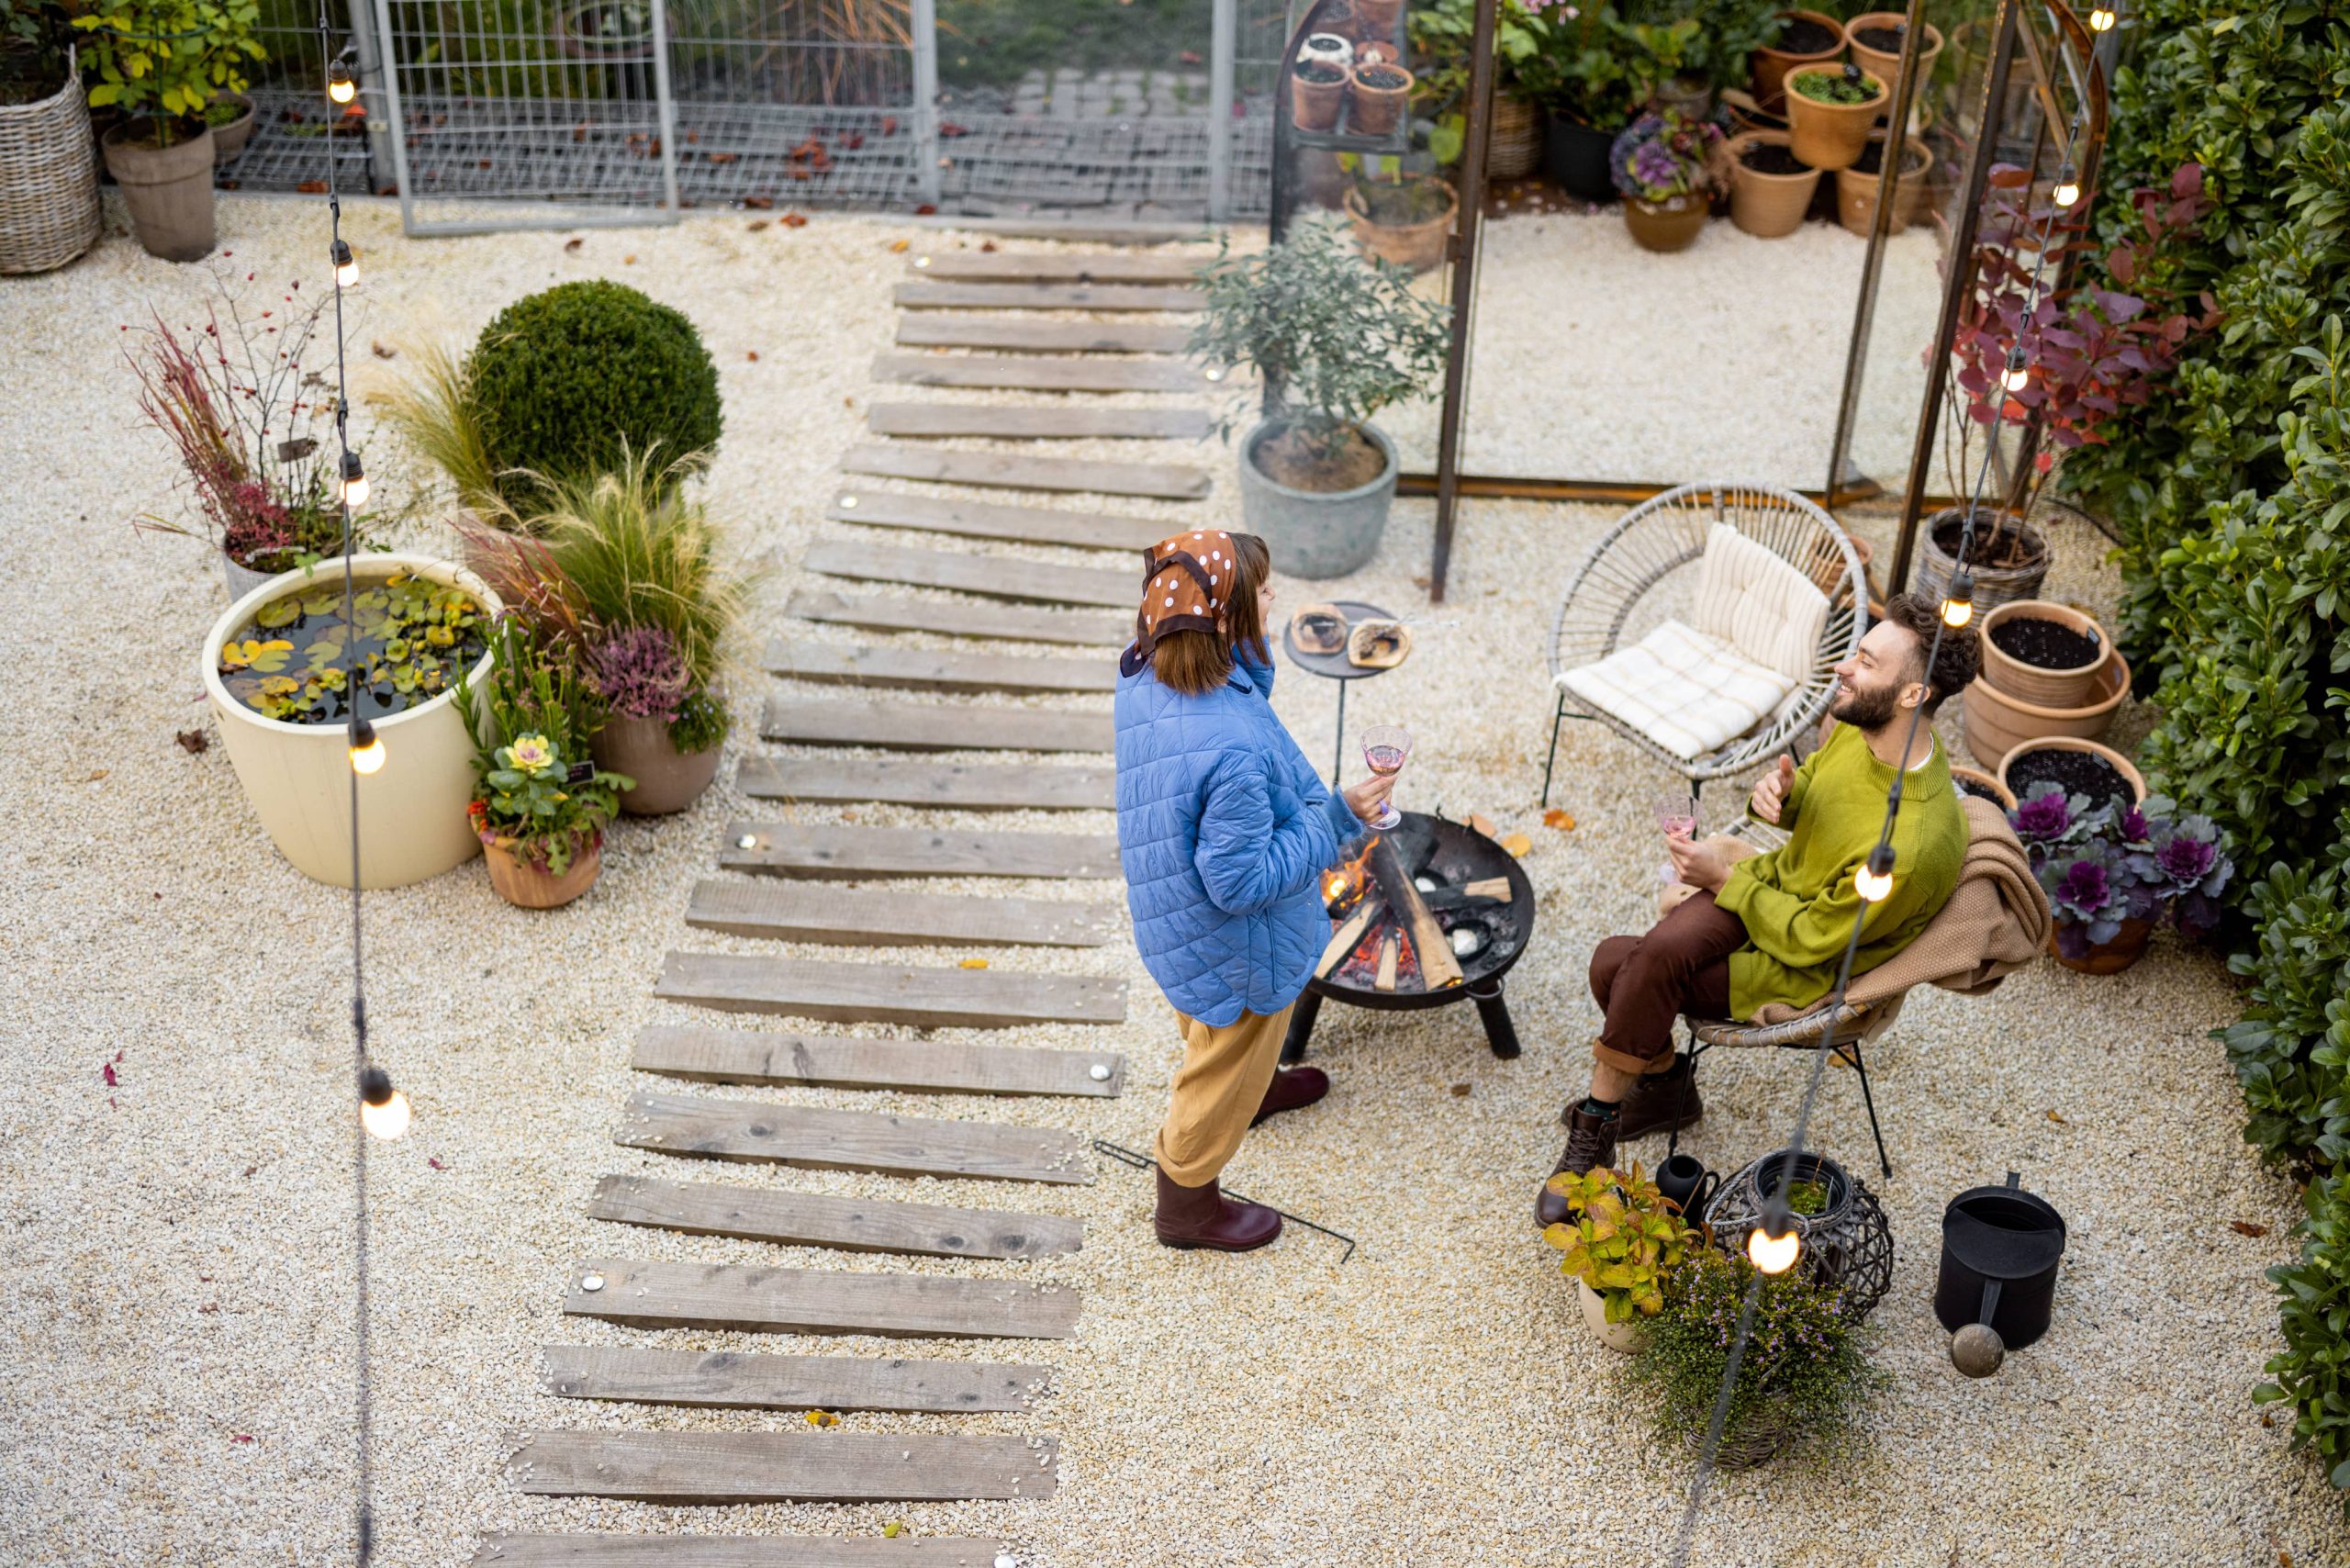
The allure of the great outdoors is never out of reach when you have a serene backyard or cozy patio to unwind. However, creating a private oasis in your outdoor space can be crucial for those seeking tranquility without the prying eyes of neighbors. Fortunately, crafting your own DIY outdoor privacy screens is an innovative and stylish solution that doesn’t have to break the bank. With a little creativity and some handy tips, these screens can transform your backyard into a private haven of relaxation and enjoyment.
Why Choose DIY Outdoor Privacy Screens?
Before diving into the creative process, it’s worth understanding why DIY outdoor privacy screens can be an excellent choice. The DIY route gives you the freedom to customize your screens to fit your space’s unique dimensions and aesthetic while saving money. Additionally, these projects allow you to repurpose and recycle materials, adding an environmentally friendly touch to your home improvement plans. Whether you are looking to screen unsightly views or create a secluded nook, the possibilities for customization are limitless.
Materials Matter: Choosing the Right Supplies
Selecting the right materials is essential for creating a stylish and functional privacy screen. When choosing materials, consider factors such as weather resistance, durability, and maintenance. Here are some popular options:
1. Wood: A classic choice, wooden privacy screens blend seamlessly with the natural surroundings of a garden or backyard. Opt for cedar or redwood, which resist moisture and insects better. Be sure to treat and seal the wood to increase its longevity.
2. Bamboo: For an exotic, tropical vibe, bamboo can be an excellent option. Not only is it durable and fast-growing, but its natural appearance enhances the beauty of any garden.
3. Metal: If you prefer a modern aesthetic, metal screens can offer sleek lines and contemporary designs. Aluminum or weather-treated steel can withstand outdoor conditions with minimal upkeep.
4. Fabric: Utilizing fabric offers versatility in design and color. Weather-resistant outdoor fabrics can wrap around a frame for a softer look. Choose UV-resistant options to prevent fading.
5. Recycled Materials: Get creative by repurposing items like old shutters, window frames, or pallets. These materials not only save costs but also add an eclectic charm to your outdoor space.
DIY Ideas for Stylish and Functional Screens
Lush Living Wall
Create a living privacy screen that brings nature up close. Using a trellis or a series of wooden slats, allow climbing plants like ivy, jasmine, or clematis to cover the screen. Not only does this provide privacy, but it also adds a beautiful, green backdrop and promotes biodiversity by attracting birds and insects.
How-to Tip: Ensure that the plants you select are suitable for your climate and the amount of sunlight your garden receives.
Fabric Panel Screens
If you’re looking for a temporary or portable solution, consider using fabric panels. Use wooden poles or metal stakes as supports, and attach your chosen outdoor fabric. These can be anchored with weights and moved as needed.
How-to Tip: Choose patterns and colors that either contrast or complement the natural scenery to add a stylistic flair.
Bamboo and Lattice Fusion
Combine the elegance of a lattice with the exotic appeal of bamboo. Affix bamboo rods horizontally or vertically within a wooden frame, then adhere a lattice panel for additional support. This hybrid design offers both coverage and artistic appeal.
How-to Tip: Use weatherproof glue and screws to ensure the longevity of your structure.
Repurposed Pallet Walls
Wooden pallets can be a cost-effective solution for those who love a rustic or industrial look. Simply stack and secure the pallets to create a robust barrier. Add a splash of color with a fresh coat of paint or hang potted plants on the pallets for added greenery.
How-to Tip: Ensure pallets are clean and free from harmful chemicals if they were previously used for transportation.
Custom Metal Panels
For those who have access to metal cutting tools, custom-cut metal panels can offer stunning visual effects. Opt for intricate designs—like geometric patterns or nature-inspired motifs. Metal panels reflect light beautifully and make a bold statement.
How-to Tip: Protect the metal with a rust-resistant coating to maintain its appearance through varying weather conditions.
Crafting Your Screen: Step-by-Step
Step 1: Measure Your Space
Before purchasing materials, measure the area where the screen will be placed. Consider height and width to ensure adequate coverage.
Step 2: Plan Your Design
Sketch your design or utilize online templates. Planning ensures you have all the necessary materials and tools before you start.
Step 3: Gather Materials and Tools
Secure all materials based on your design. Gather necessary tools like saws, drills, screws, and finishes.
Step 4: Assembly
Follow your design with precision, assembling frame elements before adding decorative or solid panels. Secure each section with proper fasteners.
Step 5: Finish and Treat
Once assembled, finish the screen with paint, stain, or sealant based on your material choice. This step is critical to protect against weather.
Step 6: Install
Place your screen in the selected location, ensuring it’s properly anchored to withstand winds.
Maintenance Tips for Longevity
– Regular Cleaning: Dust and clean your screens regularly to prevent dirt buildup.
– Seasonal Checks: Inspect for damage due to weather conditions and repair promptly.
– Resealing and Retreatment: For wood and metal screens, reseal or retreat annually to maintain durability.
Conclusion
Creating your DIY outdoor privacy screen is not only a practical solution for enhancing privacy but also an opportunity to express your creativity and craftsmanship. Whether you opt for a lush living wall or a bespoke metal design, these projects provide a rewarding way to transform your outdoor space into a private sanctuary.


