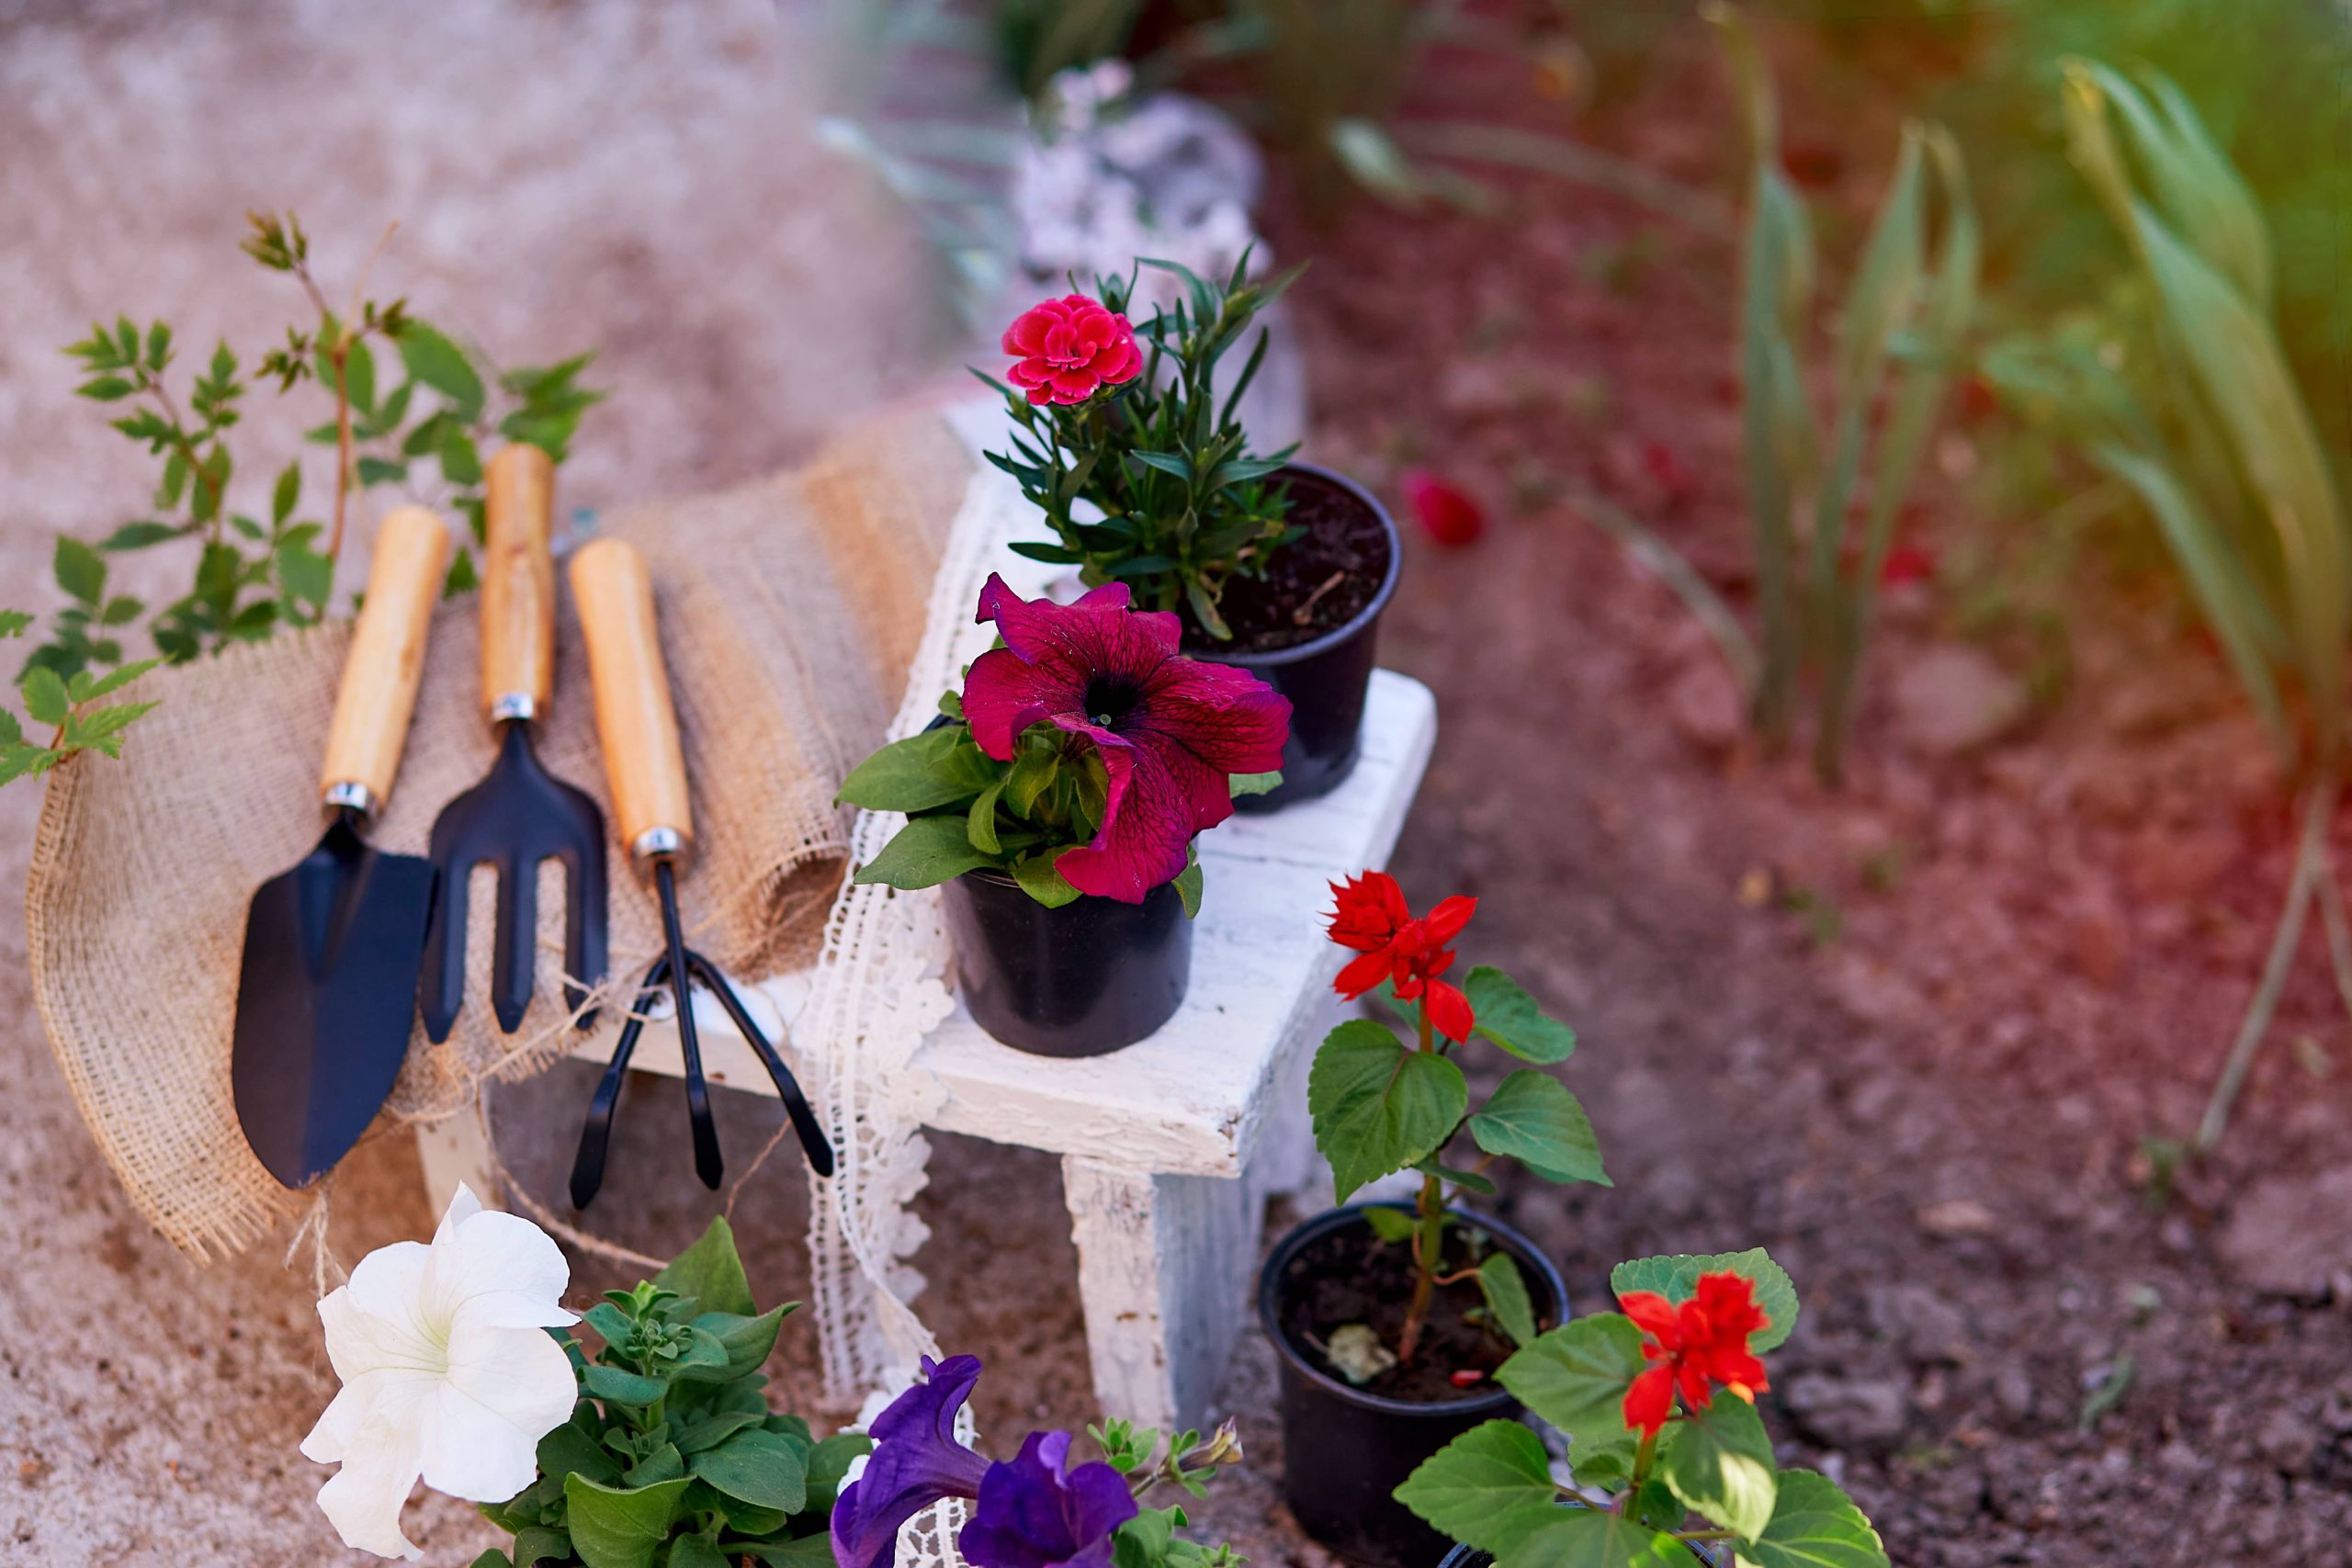
If you’re a home improvement enthusiast, you’ve probably dreamt of adding a garden shed to your backyard. A well-constructed garden shed not only boosts the aesthetic appeal of your garden but also offers much-needed storage space, decluttering your home. Building your own garden shed is not only rewarding but also allows for personalized touches and innovative storage solutions tailored to your specific needs. In this blog post, we’ll dive into step-by-step guidance on constructing your own garden shed, along with novel ideas for maximizing storage space. So grab your tools, and let’s get started!
Choosing the Right Location
Before you begin constructing your garden shed, carefully choose a location. Consider the terrain of your backyard. Ideally, look for a level area to reduce the necessity for extensive groundwork. Ensure the shed is easily accessible, yet not obstructing any garden pathways. Analyze sun exposure — placing the shed under partial shade may help maintain a cooler interior during summer. Additionally, check for any zoning regulations or homeowner association rules.
Designing Your Garden Shed
Designing your shed is one of the most exciting parts of this project. You might choose to draft the design yourself or use readily available plans online. When considering dimensions, account for the types of tools and equipment you plan to store. You might also want to incorporate extra space for future needs or a workbench if you’re inclined to have a small workshop space.
Constructing the Shed
With your design in hand, it’s time to gather materials. High-quality lumber is crucial for durability, so opt for treated wood that can withstand outdoor conditions. Besides wood, you’ll need roofing materials, screws, nails, hinges, and waterproof paint or sealer to protect the exterior.
1. Foundation: Start with a solid foundation. Use concrete slab or wooden beams, ensuring they are level and properly anchored.
2. Frame: Construct the framework, starting with the floor, then moving on to the walls and roof. Ensure all the joints are tightly fastened. A gable roof is typically a practical choice for sheds, as it provides ample headroom and efficient water drainage.
3. Walls and Roof: Once the frame is complete, attach the walls and proceed with the roofing materials. Don’t forget to include windows for natural light, which can make the interior space more pleasant.
4. Doors and Windows: Install a sturdy door with a reliable lock. Security is vital to protect your valuable tools. Select windows with opening capability for ventilation.
5. Finishing Touches: Paint and seal your shed to match the aesthetic of your garden. Consider adding gutters and rainwater collection barrels for environmental and practical benefits.
Innovative Storage Ideas
Now that your shed is constructed, it’s time to focus on innovative storage solutions to utilize the space efficiently.
1. Vertical Storage: Use wall-mounted shelves, hooks, and pegboards. Vertical storage frees up floor space, allowing for easy access to tools. Add adjustable shelves to accommodate items of varying sizes.
2. Ceiling Racks and Pulley Systems: Install ceiling racks to store lightweight items that aren’t frequently used. A pulley system can be used for heavier items—just ensure that the ceiling structure is robust enough to handle additional weight.
3. Magnetic Strips: Magnetic strips can store metal tools, which keeps them organized and accessible. This is perfect for screwdrivers, hammers, and other metal-handled tools.
4. Repurpose Old Furniture: Before discarding that old bookshelf or dresser, consider repurposing it for garden tool storage. An old dresser can hold smaller items, while a bookshelf can serve as shelving for pots and plant food.
5. Portable Storage Containers: Invest in stackable storage bins that are clear and labeled, making organization and retrieval easy. These bins can house smaller items such as seed packets, gloves, and hand tools.
6. Sliding Door Organizers: Use the inside surface of cabinet doors for additional storage — hang organizers for small tools and gear. This not only saves space but also keeps everything at eye-level.
7. Garden Bench Storage: If space permits, an outdoor bench with interior storage could be placed beside the shed. It’s dual-purpose: a place to sit while working outside, and a discreet storage option.
8. Tool Towers: A tool tower is fantastic for storing rakes, shovels, and brooms vertically, keeping them off the floor and neatly organized.
Go Green with Your Shed
Consider incorporating eco-friendly elements into your shed. Install a solar panel to power lighting or electrical outlets in the shed, reducing the need for traditional power sources. Use recycled materials for construction wherever possible to lessen your environmental footprint.
Conclusion
Building your own garden shed is a fulfilling project that not only enhances your home’s functionality but also adds to its charm. With thoughtful design and innovative storage solutions, you can create a space tailored to your needs, ensuring every tool and gardening accessory has its place. Happy building! By taking on this DIY project, you not only cultivate your carpentry skills but also create a personalized space that answers your unique storage needs. Enjoy your newfound garden organization and the convenience that your bespoke garden shed brings!


