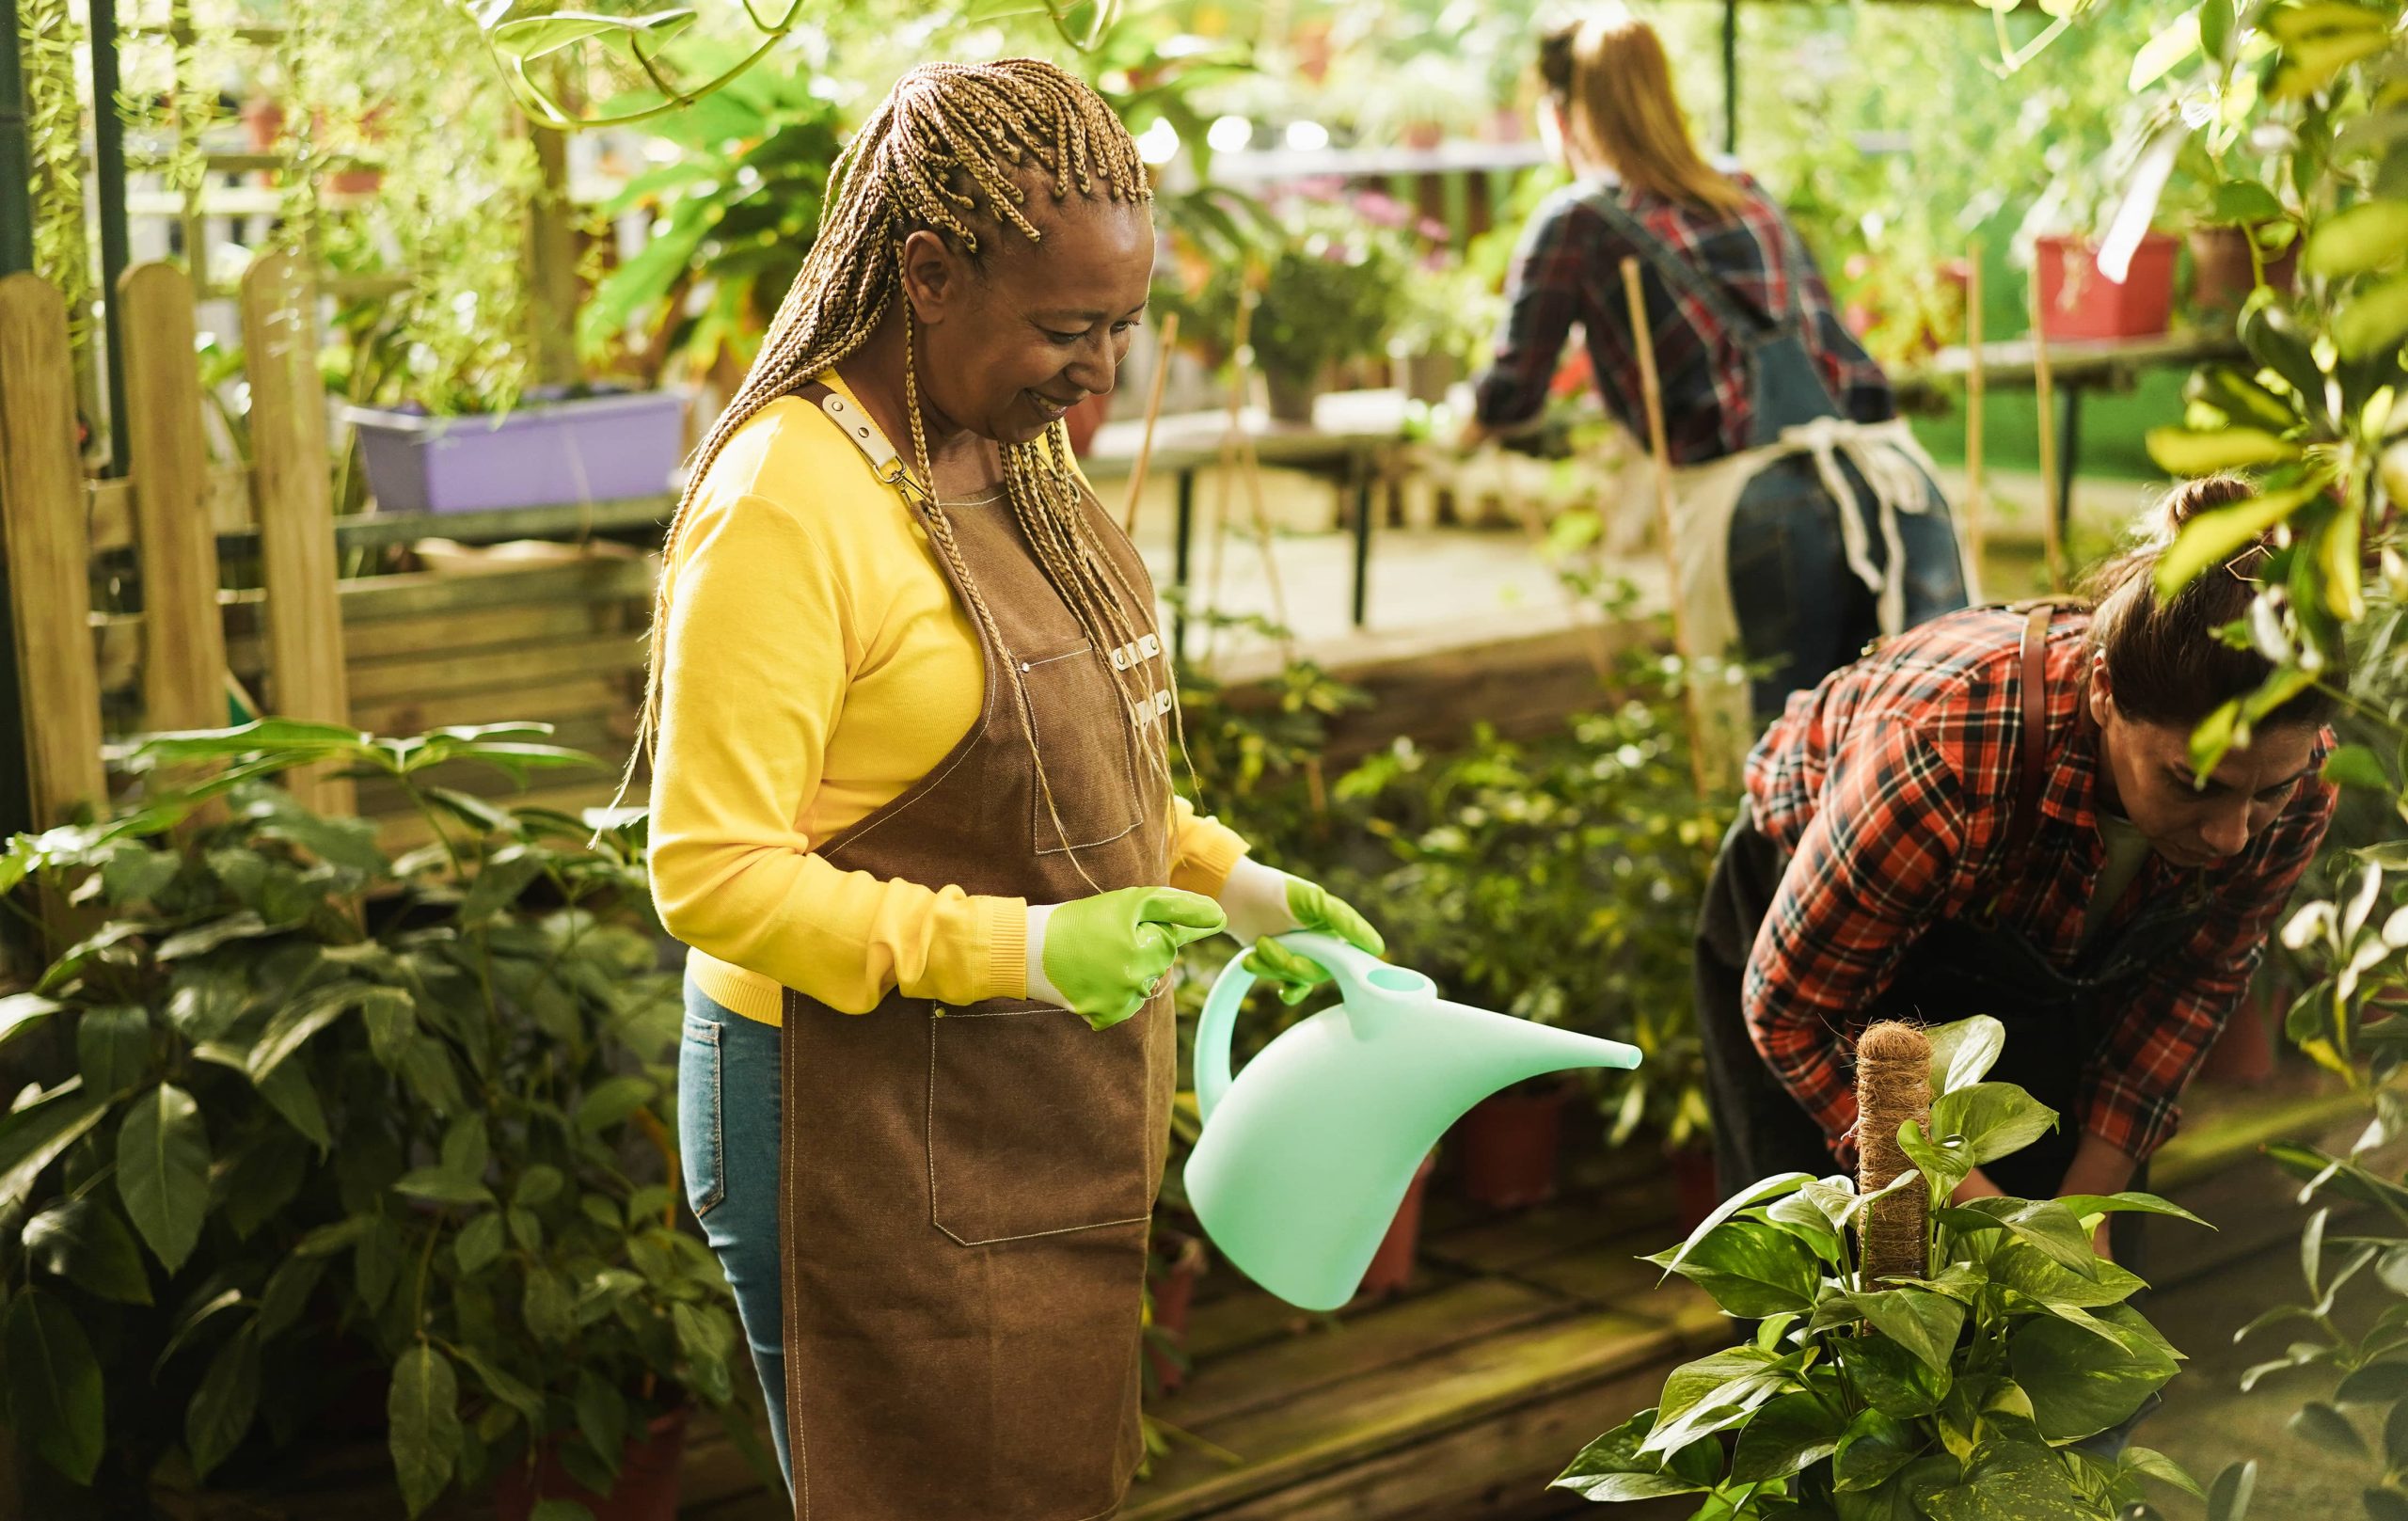
Embarking on the journey of growing plants from seeds can be an incredibly rewarding experience. Not only does it allow you to witness the magical transformation from a tiny seed to a flourishing plant, but it also gives you complete control over the growing process, ensuring healthy and thriving plants. Whether you’re keen on enriching your culinary dishes with fresh herbs, brightening your garden with vibrant flowers, or creating a lush green indoor sanctuary, starting from seeds is an empowering way to cultivate life. If you’re a beginner who’s ready to dig into the soil, this guide will equip you with essential tips and techniques for succeeding in your seed-growing endeavors.
Why Grow Plants from Seeds?
Before delving into the how, let’s address the why. Growing plants from seeds can be more cost-effective than buying plants. A single packet of seeds can yield dozens of plants, saving you substantial money while allowing you to grow a variety of species. Additionally, starting from seeds offers an extensive range of options. You can experiment with heirlooms, organic, and exotic varieties that are often unavailable as fully grown plants in nurseries.
Growing from seeds also nurtures patience and commitment, teaching valuable lessons in the process as you observe the development from seedling to mature plant. For parents and educators, it can be a valuable educational activity, offering hands-on learning and a closer connection to nature.
Getting Started: Choose Your Seeds
Start your gardening journey by choosing the right seeds, paying attention to your climate, growing environment, and personal preferences. For beginners, some forgiving and easy-to-grow options include basil, sunflowers, marigolds, zinnias, lettuce, and radishes. Each of these plants delivers quick results and requires minimal specialized care.
If you’re planting outside, consider your local growing season. Check the seed packets for details about planting times. In contrast, indoor gardening allows for more flexibility, enabling you to cultivate certain plants year-round.
Procuring Seed-Starting Supplies
Once you’ve chosen your seeds, gather the necessary supplies. Here’s what you’ll need:
1. Containers: You can use seed trays, small pots, or even recycled containers like egg cartons and paper cups. Ensure that your chosen containers have drainage holes to prevent waterlogging.
2. Seed-Starting Mix: It’s crucial to use a lightweight, sterile mix designed for seed starting, which provides excellent aeration and water retention. Avoid using garden soil, as it may be too dense and could harbor pests and diseases.
3. Labels: Keeping track of what you’ve planted is essential, especially when sowing multiple types of seeds. Use garden markers or labels to note the seed type and planting date.
4. Watering Can or Spray Bottle: Choose something that allows for gentle watering to avoid disturbing the seeds.
5. Light Source: If you’re starting seeds indoors, ensure adequate light by placing them near a sunny window or using grow lights. Most seeds require at least 12-16 hours of light per day for optimal growth.
Planting Your Seeds
Before planting, read the seed packet instructions carefully. They provide explicit guidelines on seed depth, spacing, and any special requirements. Generally, the rule of thumb is to plant seeds three times as deep as the seed is wide.
1. Prepare the Containers: Fill your chosen containers with seed-starting mix, leaving about half an inch of space at the top.
2. Sow the Seeds: Gently place the seeds on the surface of the soil at the recommended distance apart. Cover them with a thin layer of soil appropriate to their size.
3. Water Gently: Use a spray bottle to moisten the soil lightly, ensuring it’s damp but not waterlogged.
4. Provide Consistent Conditions: Place the containers in a warm area, maintaining a consistent temperature to promote germination. A heat mat may help if the ambient temperature is too low.
Nurturing Seedlings
Once your seeds germinate, which can take days to weeks, attentiveness becomes key.
1. Light and Rotation: Ensure the seedlings receive sufficient light, and rotate containers regularly to promote even growth and prevent them from becoming “leggy.”
2. Thinning: As seedlings grow, they may need thinning to allow ample space for each to thrive. Thin seedlings by snipping them at the soil line, leaving the strongest ones.
3. Watering and Feeding: Continue to water gently, ensuring the soil remains moist. Once seedlings develop true leaves, consider feeding them with a diluted, balanced fertilizer to support robust growth.
4. Hardening Off: Before transplanting seedlings outdoors, acclimate them to external conditions by gradually exposing them to sunlight, wind, and varied temperatures over a week or more.
Transplanting to Their Final Home
Once seedlings have been properly hardened off and reached an appropriate size, they can be transplanted to their final location, be it a garden bed, outdoor pot, or an indoor planter.
Carefully remove seedlings from their containers, being mindful of the delicate roots. Transplant them into well-prepared soil, water them thoroughly, and continue regular care.
Celebrate Your Green Success
Successfully growing plants from seeds is an achievement worth celebrating. As your plants mature, you’ll reap the benefits of your work, enjoying fresh herbs, vibrant blooms, or lush foliage. Gardening from seeds not only enriches your space but also offers an ongoing opportunity for learning and connection with nature.
Whether you choose to specialize in certain plants or explore a variety of possibilities, the satisfaction of cultivating life from a seed is boundless. Grab your seeds, dive into your gardening adventure, and watch as your efforts blossom into beautiful, thriving plants. Happy gardening!


